Having the ability to adjust column widths and row heights is essential for creating well-designed workbooks
This lecture covers how to make these adjustments (in a number of ways, of course!)
Buttons
The relevant buttons can be found in the Cells group of the Home tab:
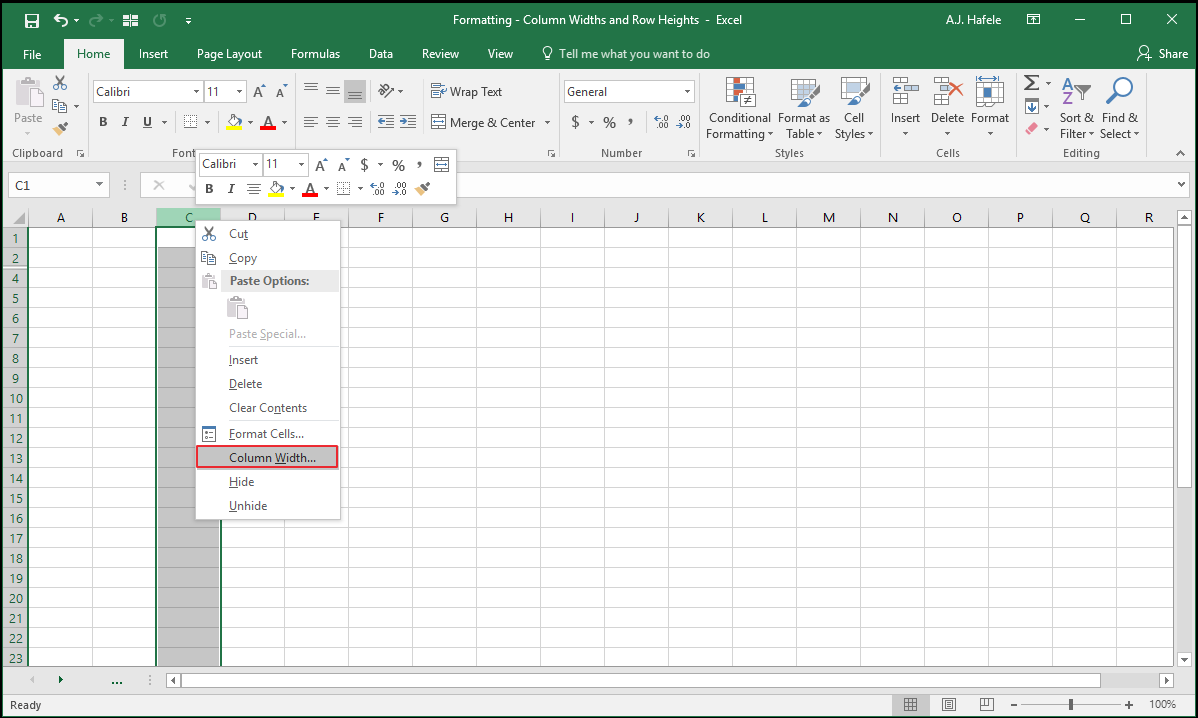
More options can be found by right-clicking row and column headers, as shown here:
Adjust Column Widths
The most basic way to adjust column widths is with a mouse, as shown here:
Notice that:
You can click and drag the lines that divide the columns in order to change column widths
Double-clicking the lines in the column headers will AutoFit the column widths of all selected columns (to the width of the widest cell in the column)
You can adjust the column widths of multiple (contiguous and non-contiguous) ranges simultaneously
Also note that column widths can be represented numerically
The default column width in later versions of Excel is 8.43
The larger the number, the wider the column (and vice versa)
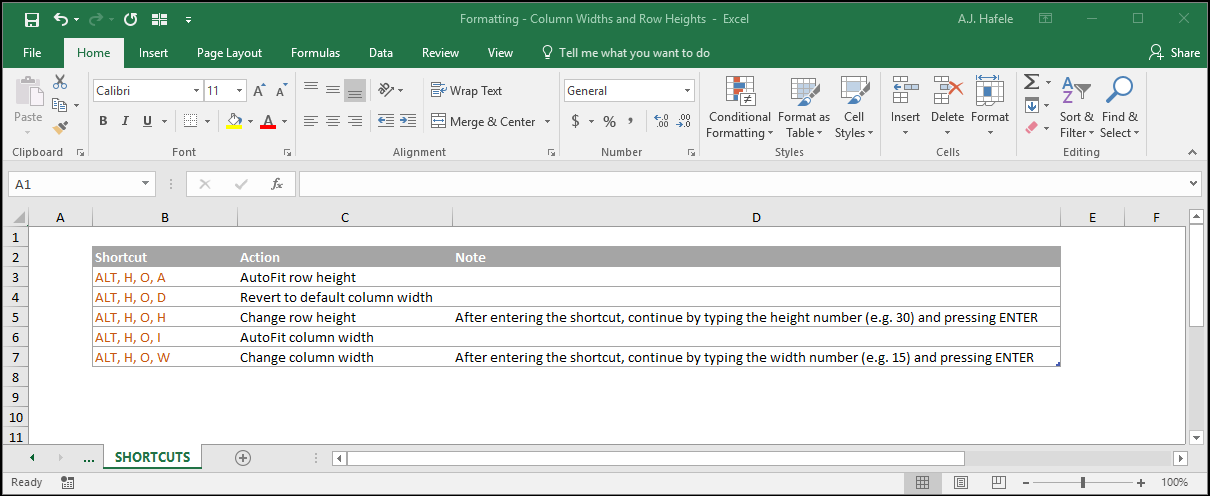
Another way to adjust column widths is via the Ribbon (and corresponding shortcut ALT, H, O, W), as shown here:
Column widths can also be AutoFit to the width of the widest cell in the selected range (ALT, H, O, I), as shown here (we modify one cell to enhance the illustration):
Note that we had to select cell G7 above for AutoFit to work properly in that cell
Change Default Width
Selecting Default Width in the Ribbon (ALT, H, O, D) will allow you to change all column widths in the active sheet to the user-specified value, as shown here:
Note that this functionality only applies to selected sheets (and it will not apply to newly-created workbooks)
Additionally, the functionality only works on columns whose widths have not yet been modified
Adjust Row Heights
The most basic way to adjust row heights is with a mouse, as shown here:
Notice that:
You can click and drag the lines that divide the rows in order to change row heights
Double-clicking the lines in the row headers will AutoFit the row heights of all selected rows
You can adjust the row heights of multiple (contiguous and non-contiguous) ranges simultaneously
Also note that row heights can be represented numerically
The default row height in later versions of Excel is 15
The larger the number, the longer the row (and vice versa)
Another way to adjust row heights is via the Ribbon (and corresponding shortcut ALT, H, O, H), as shown here:
Row heights can also be AutoFit to the height of the highest cell in the selected range (ALT, H, O, A), as shown here (we modify one cell to enhance the illustration):
Tips
Some Excel users frequently work with tables of data, and sometimes the column (or field) headers contain descriptions that are longer than the field contents themselves
In order to see the long header descriptions without making column widths extremely wide, use Wrap Text (ALT, H, W) for the headers, as in the following example (using ALT, H, O, W and ALT, H, O, H to modify column widths and row heights, respectively):
In the above example, we could have simply used AutoFit column widths, but the columns would have been unevenly spaced, and they would have been even wider
Just imagine if the table above were 15 columns wide - you would have been required to side scroll! Friends don't let friends side scroll