This lecture briefly covers how to save Excel files
Additionally, we will discuss a few related save-related options available in Excel
Buttons
The relevant buttons can be found in the Quick Access Toolbar and File tab (at the top-left):
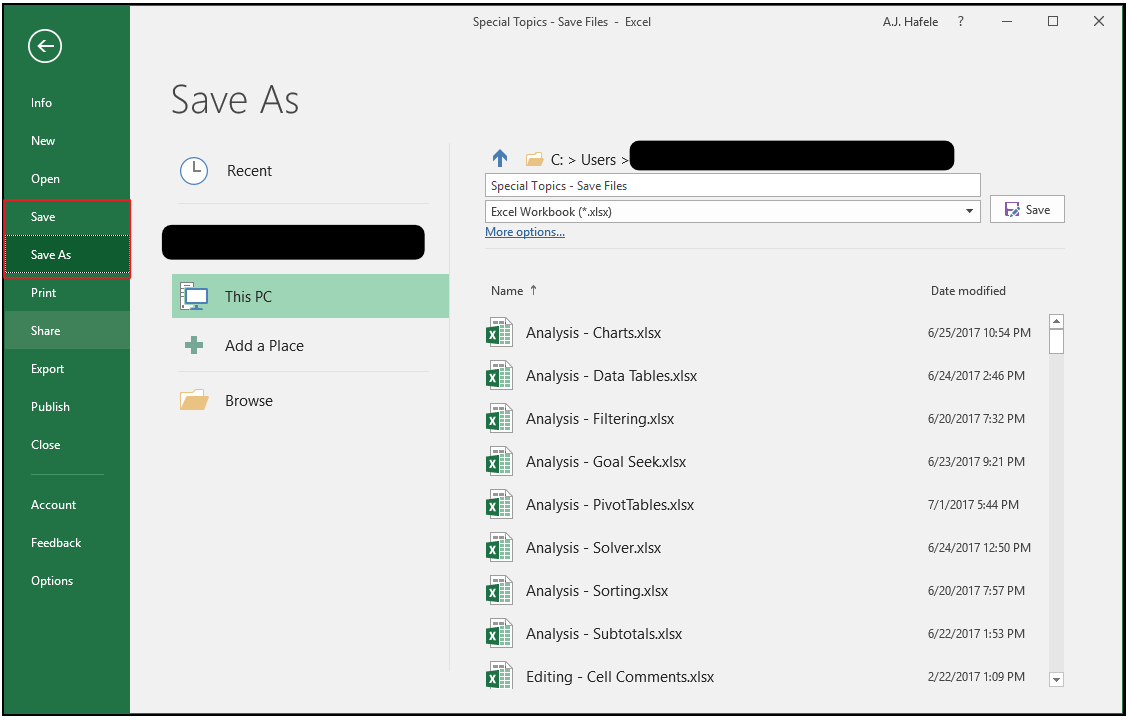
When the File button is clicked, the Save and Save As buttons can be found on the left-hand side of the page:
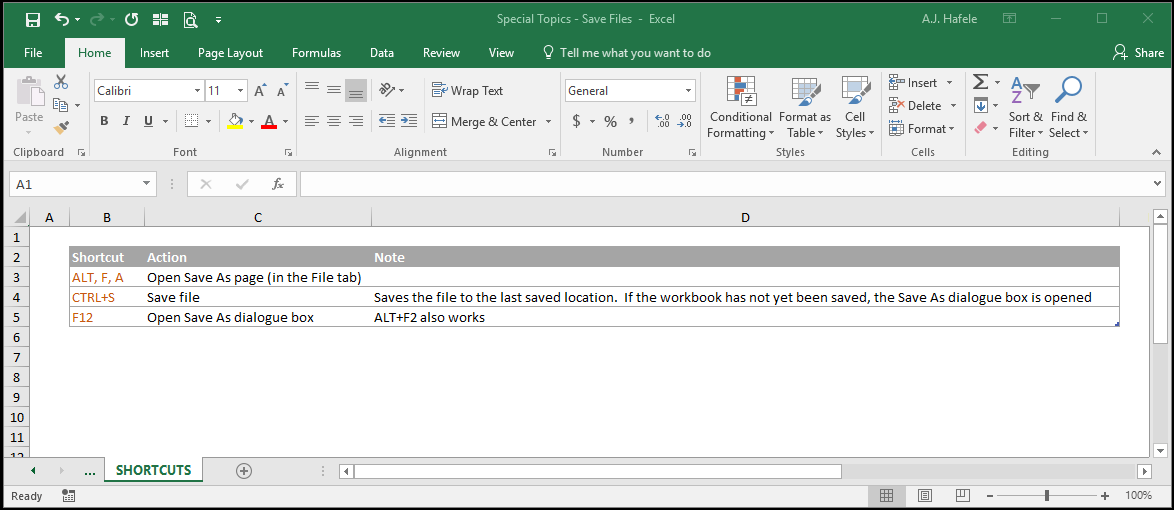
As you can tell, there are a number of ways to save Excel files
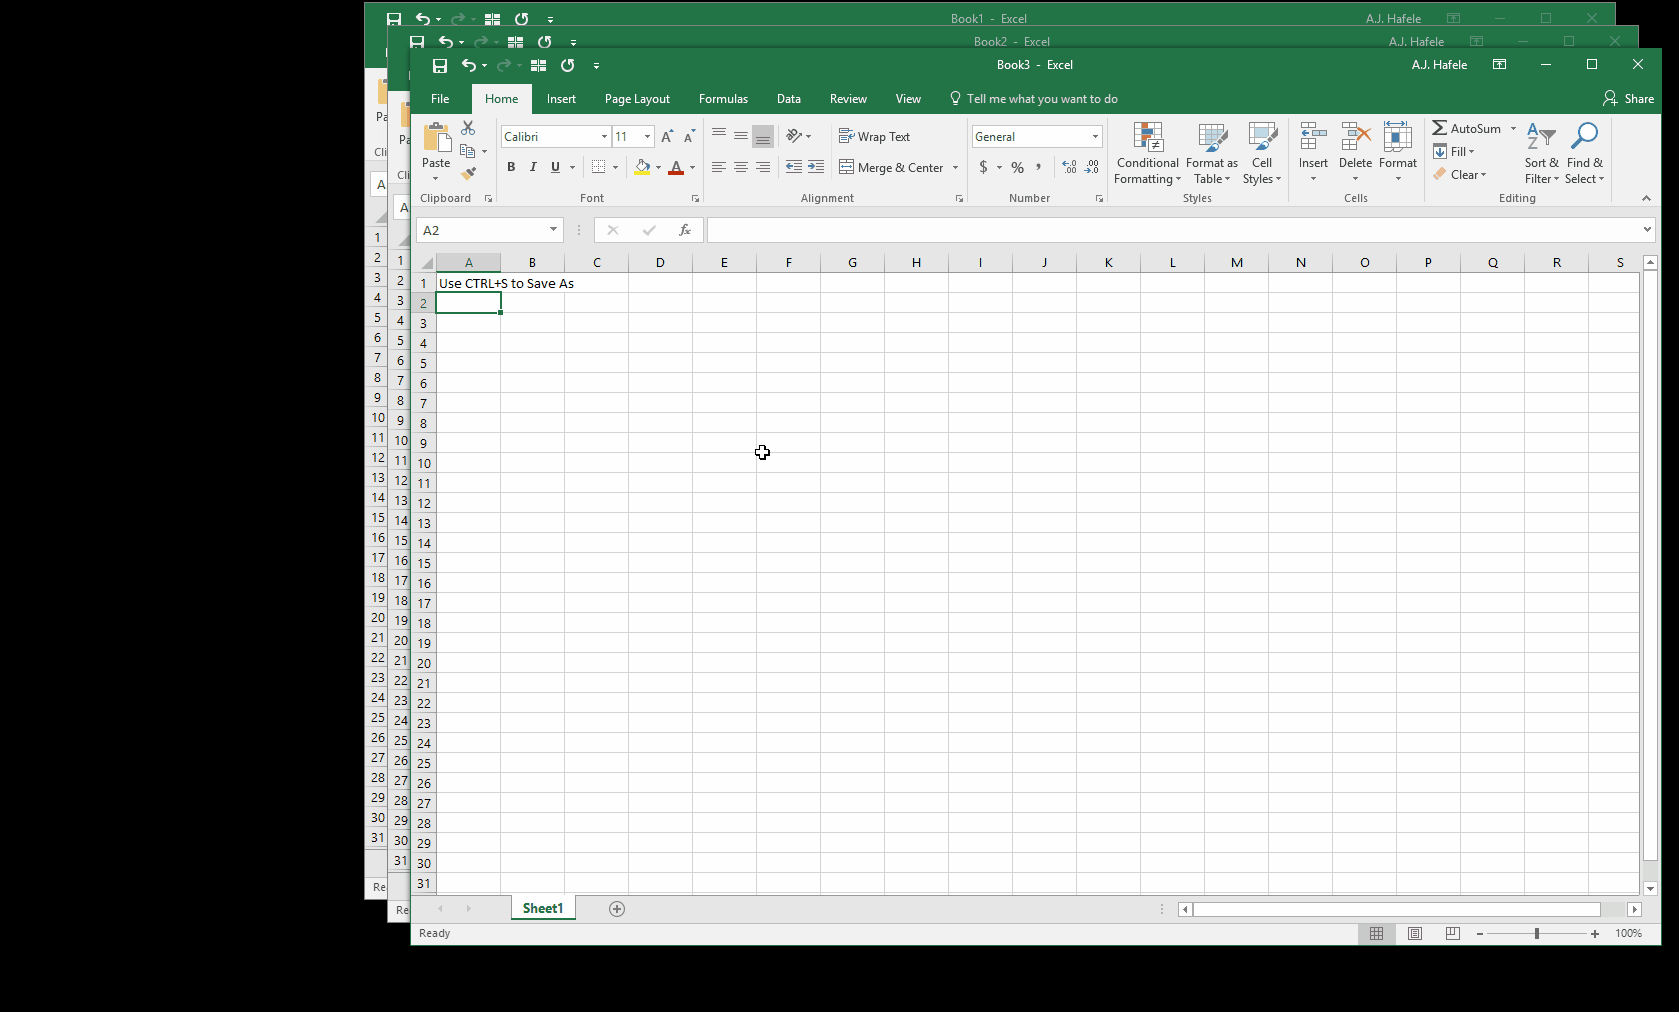
Saving New Workbooks
Observe as we save three new workbooks to our Desktop using 3 different approaches (Book 1 is saved using CTRL+S):
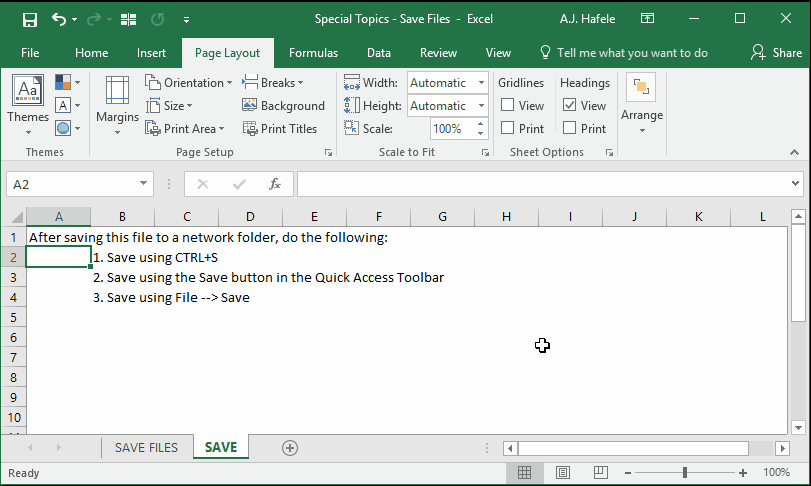
Saving Already-Saved Workbooks
The process for saving already saved workbooks is nearly the same as saving new workbooks, as shown here:
You can also Save As by navigating to File --> Save As
From there, you can either save the file under a new name / file path, or you can overwrite the current file, which is effectively the same as a simple save
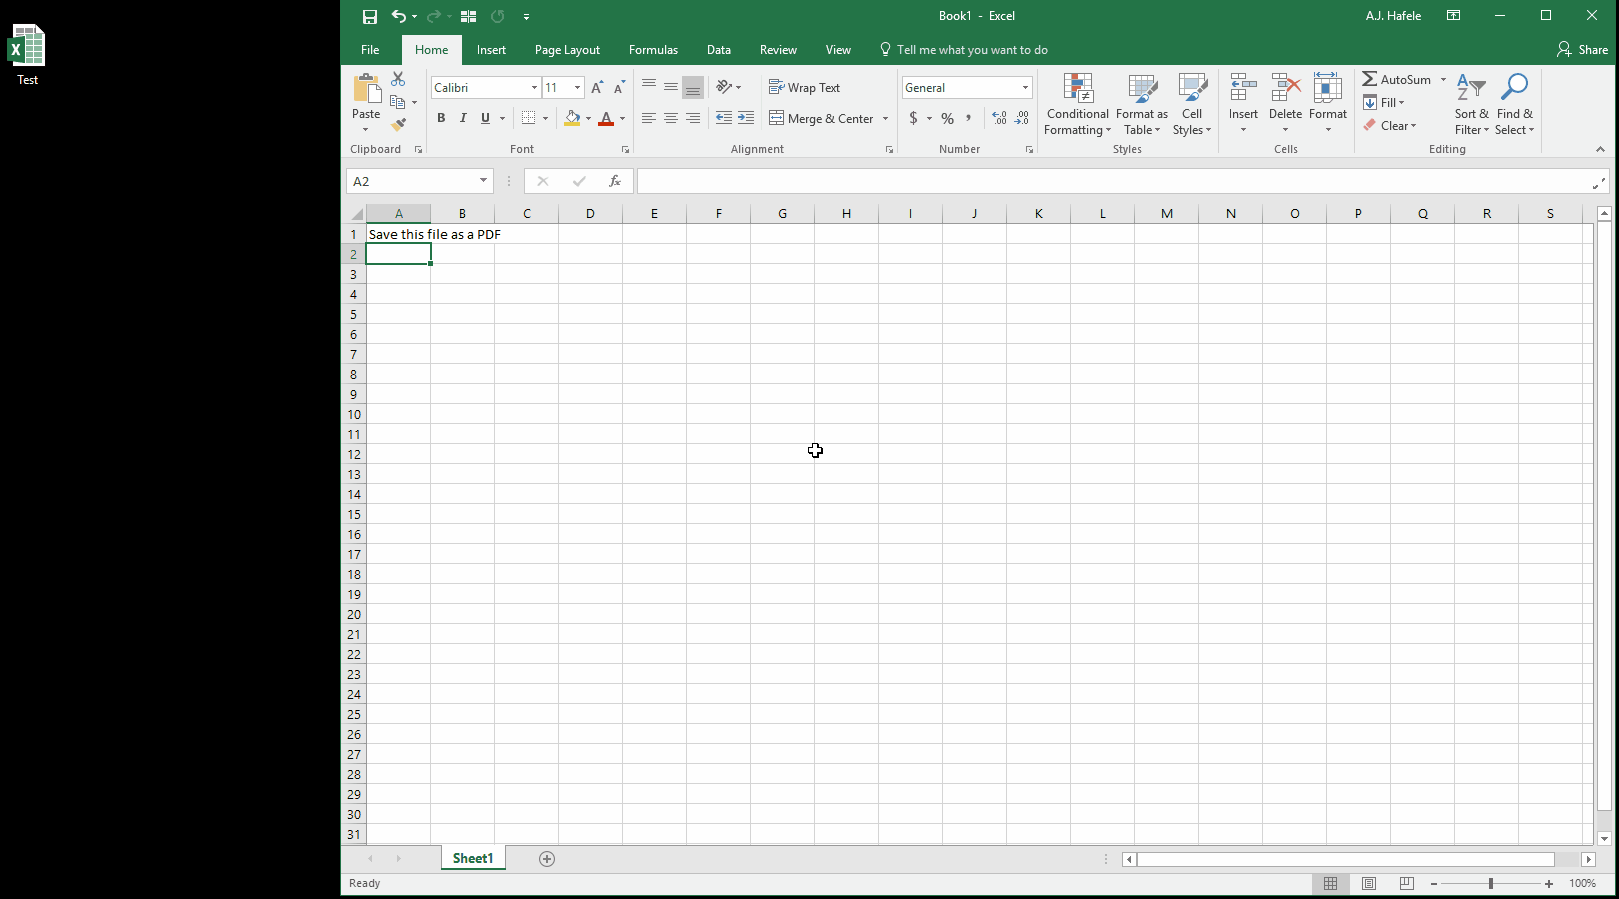
Saving in Different File Formats
Sometimes, you may need to save your Excel file as something besides a .xlsx format, including (but not limited to) the following:
.xlsm - Macro-enabled workbooks (this format is required if you want to use VBA)
.xls - Excel 97-2003 workbooks
.csv - Comma separated value files
.pdf - Portable document format (PDF format)
This can be done in the Save As menu as follows:
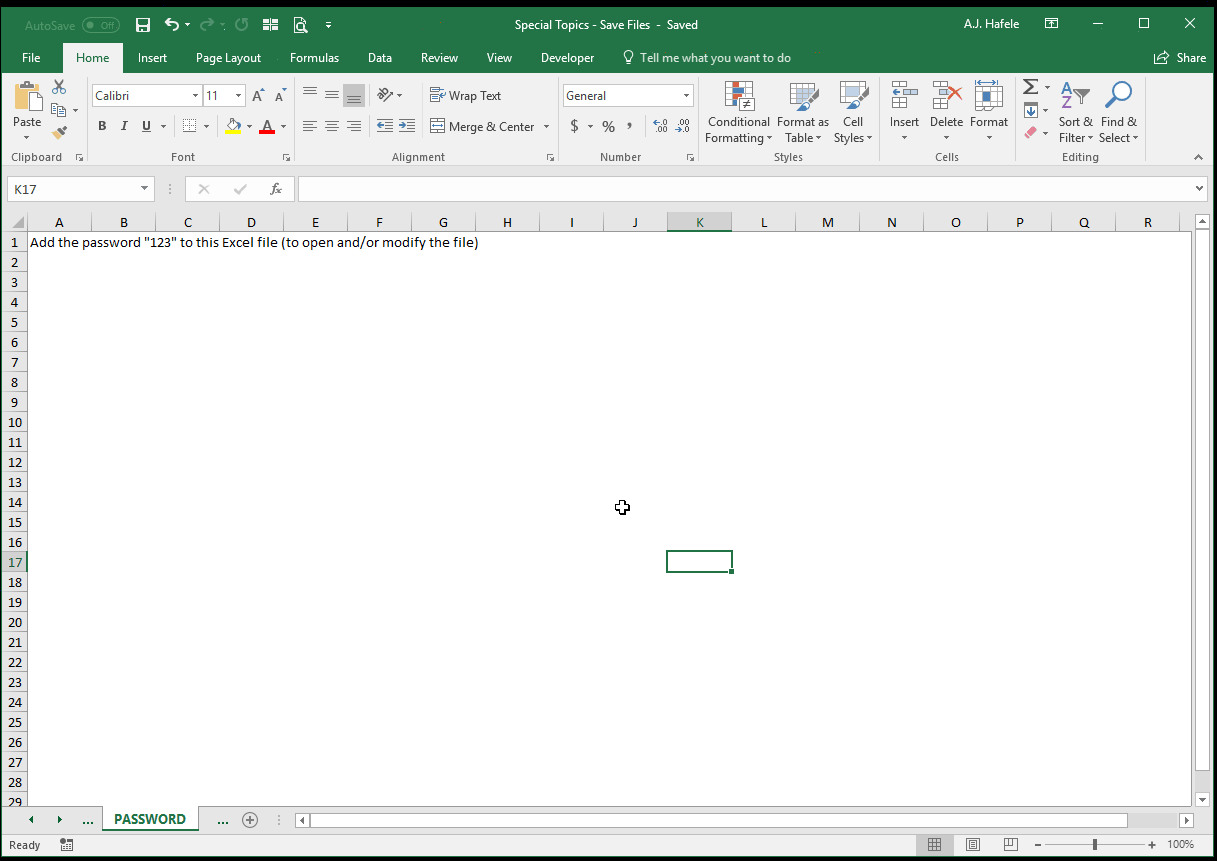
Password Protecting Files
Excel gives you a few options to add file passwords
Specifically, you can create passwords to:
Open the file, and/or,
Modify the file
Let's first create a password that is required to open a file:
When you try to open the file next time, you will be prompted to enter a password, as shown here:
If you want to only restrict who can modify (edit and save) the file, you can do the following:
When you try to open the file next time, you will be prompted to enter a password, but you can instead opt to open as read-only, as shown here:
Notice that:
The first time we opened the file (by clicking Read Only), we did not need a password, but we could not modify and save the file (though we could save down a copy and modify the copy)
The second time we opened the file (with the password), we could modify the file
You can also add 2 passwords - one to open, and one to modify - as shown here:
When opening the file, you are first prompted with a password request to open the file, and then a password request to modify the file, as shown here:
Thus, you would want to set up two passwords when:
You want to restrict all access (to even see the file) to a certain group of people (they would get the "123" password), and
You want to restrict modify access to an even smaller group of people (they would get the "123" and "456" passwords)
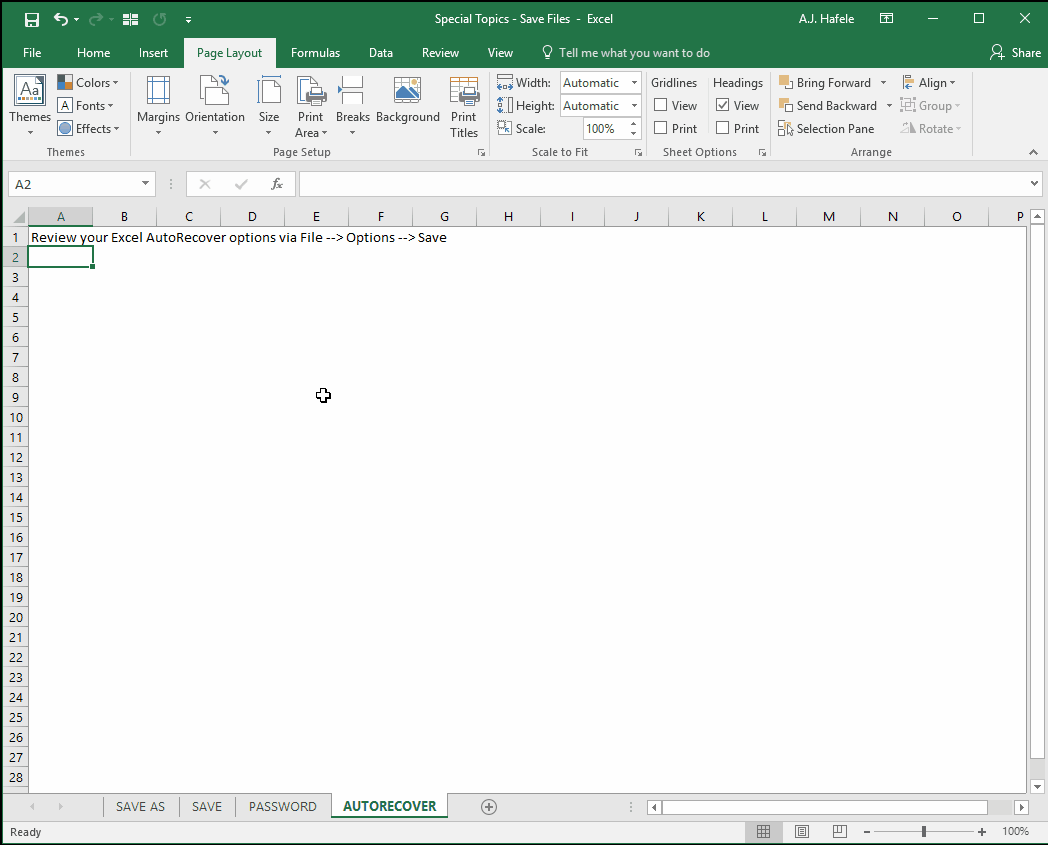
AutoRecover
AutoRecover is a feature that will save backup copies of your file - even if you do not save the file yourself - in a certain location on your computer
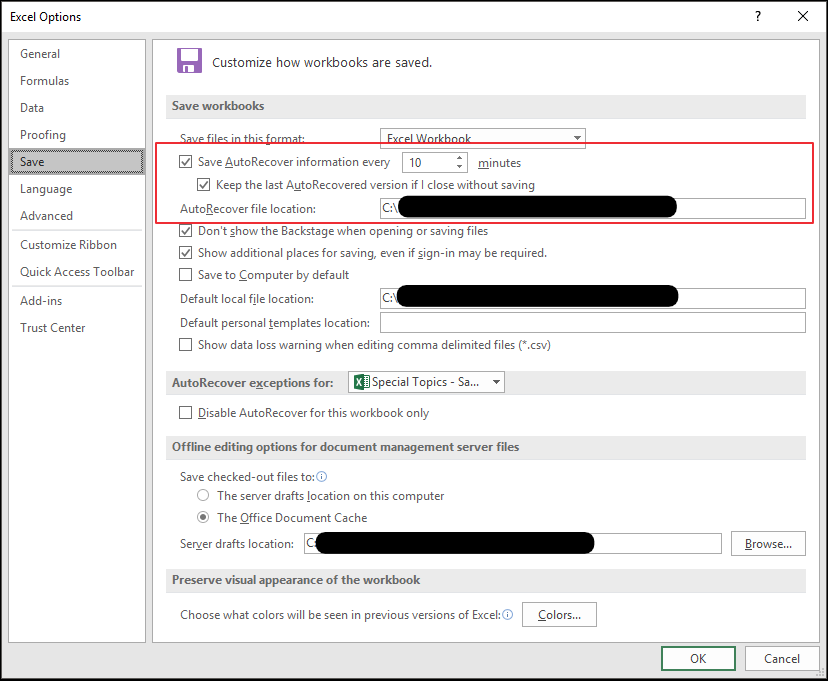
To see what your AutoRecover options are for Excel files, navigate to Excel Options, as shown here:
Here is a screenshot of the AutoRecover options:
As you can see, our AutoRecover options are set to save our file every 10 minutes to a certain file path (redacted in the screenshot)
Thus, if you had issues and need to recover a file that you did not save, be sure to look in that file path for a backup