It is often necessary to share the results of your analysis with others in hard-copy
This is where printing comes in (of course!)
In this lecture, we cover the various options available in Excel to help you print your content as desired
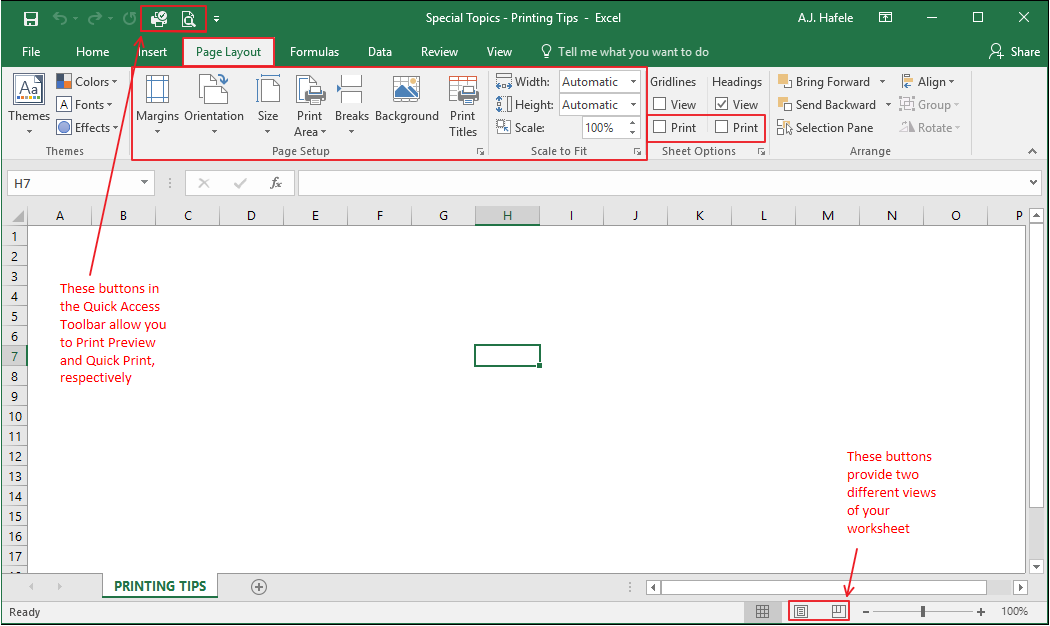
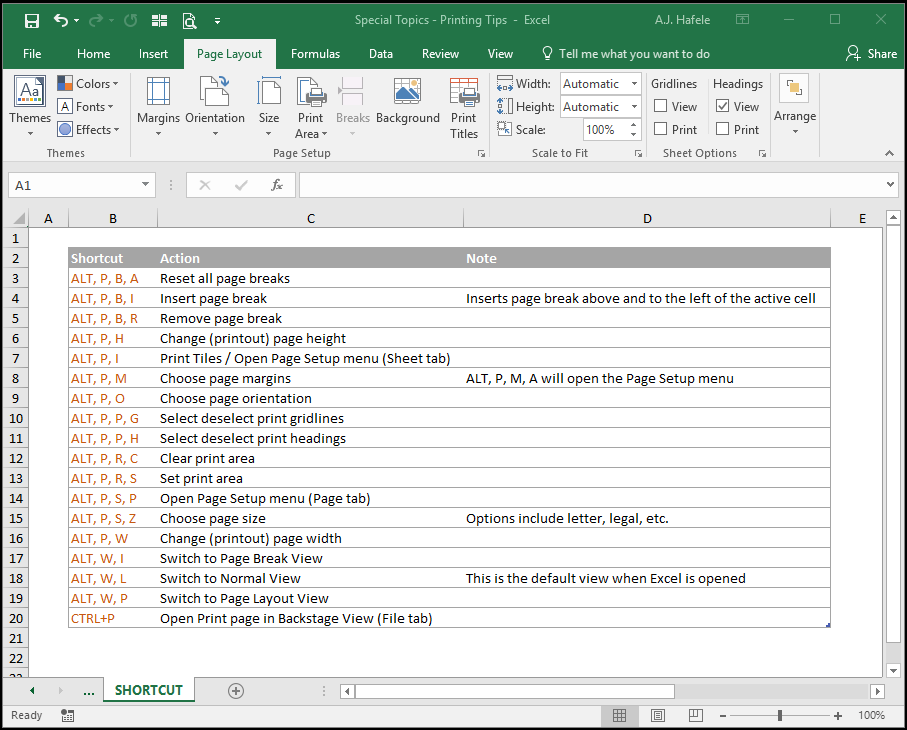
Buttons
There are a number of buttons scattered throughout Excel which are relevant to printing
The relevant buttons are found on the Page Layout tab, as well as in the Quick Access Toolbar and at the bottom of the Excel window:
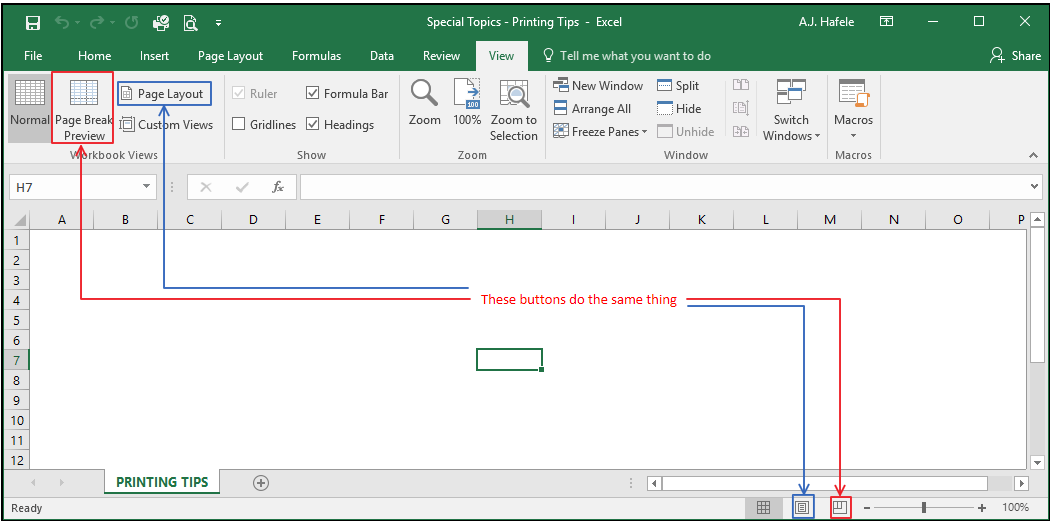
More buttons can be found in the View tab (they are essentially the same buttons that are at the bottom of the Excel window, however):
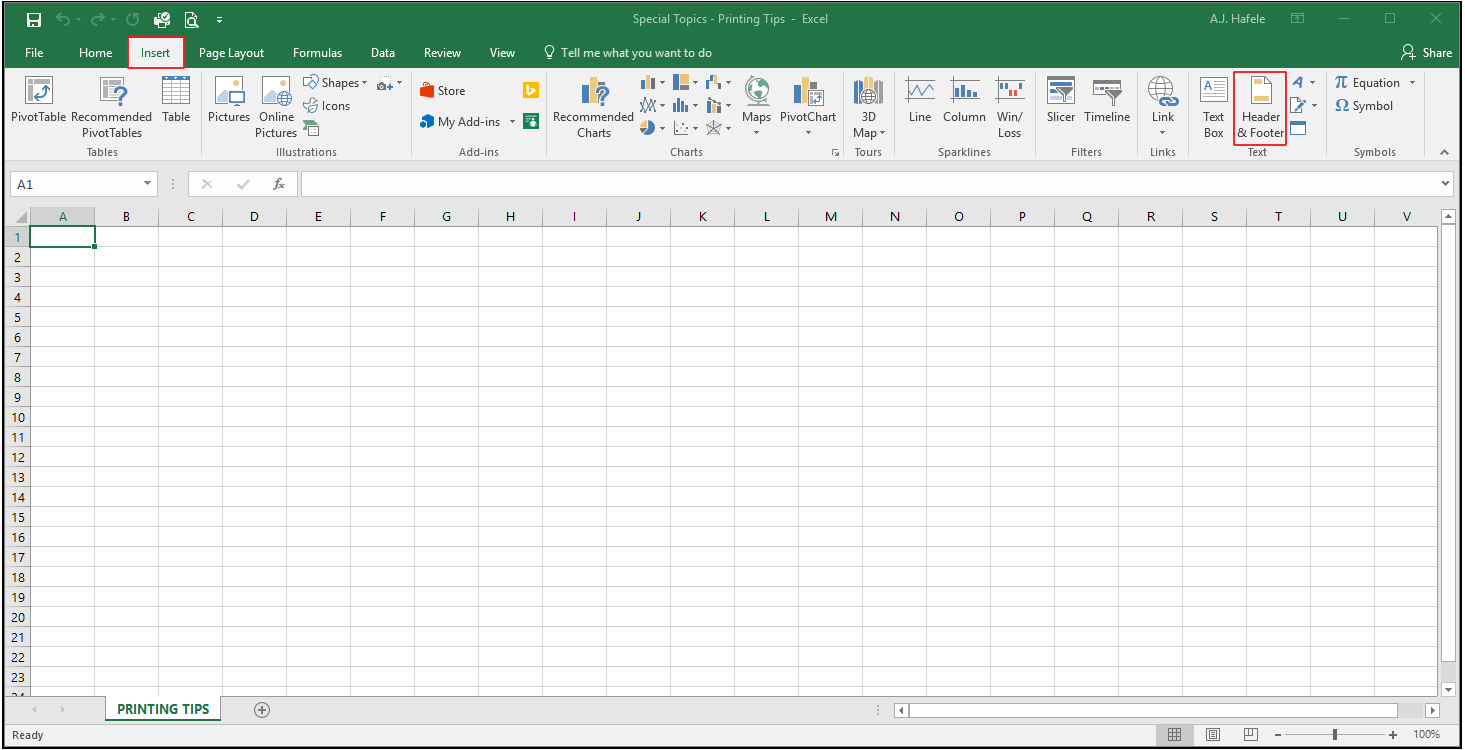
The button that allows you to create headers and footers for your file can be found in the Insert tab, here:
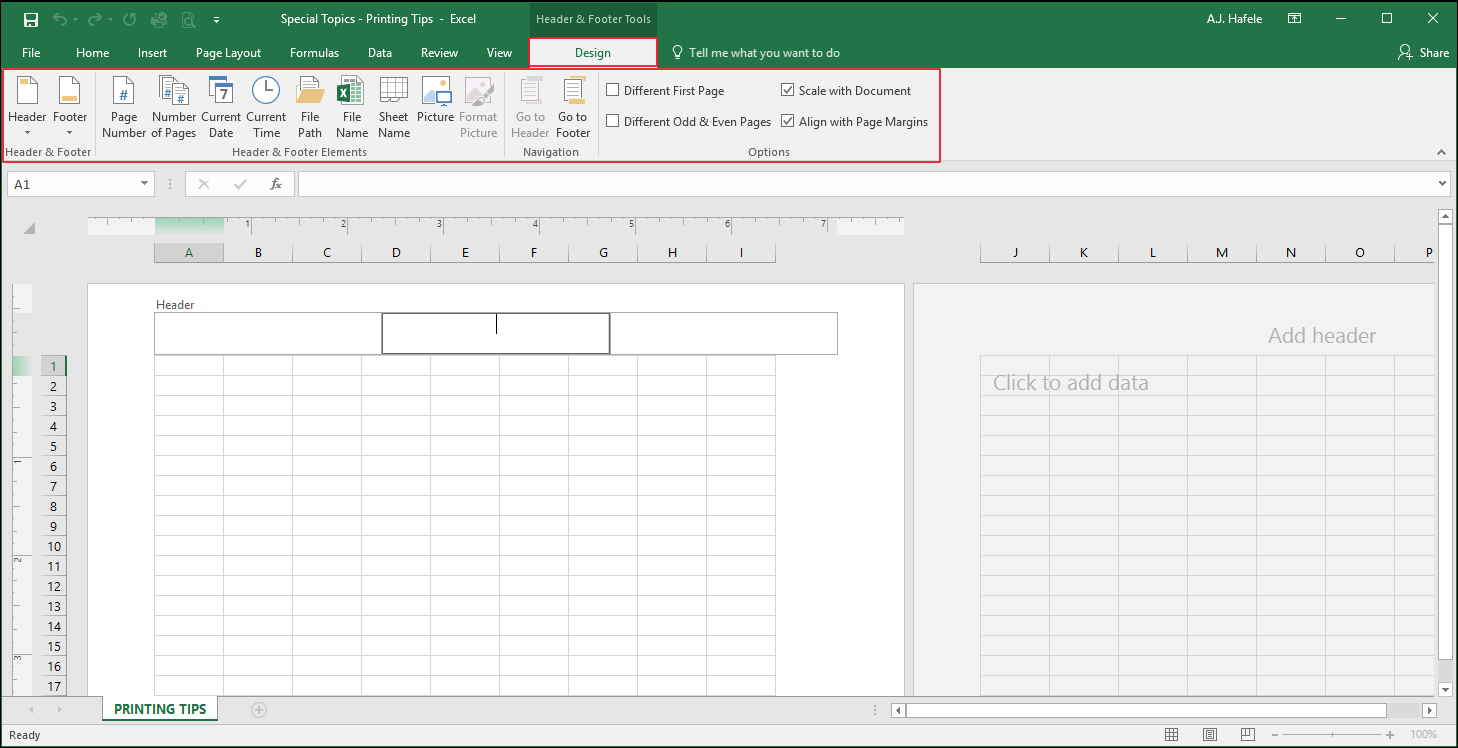
When the Header & Footer button is clicked, a Design tab dedicated to headers and footers becomes available:
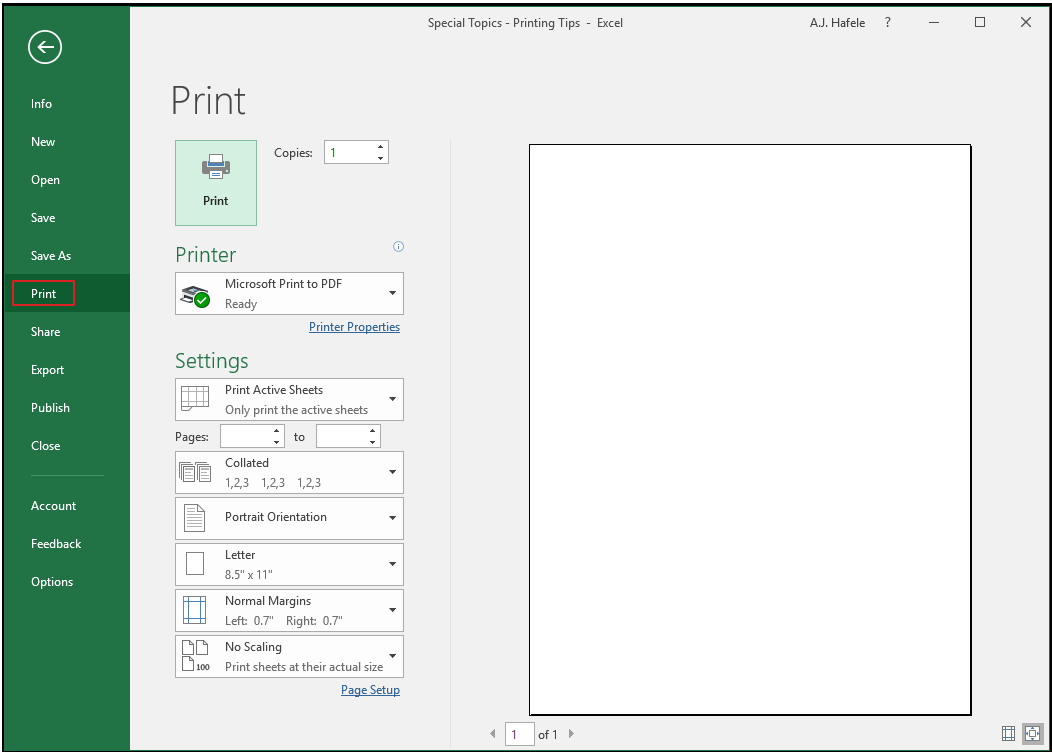
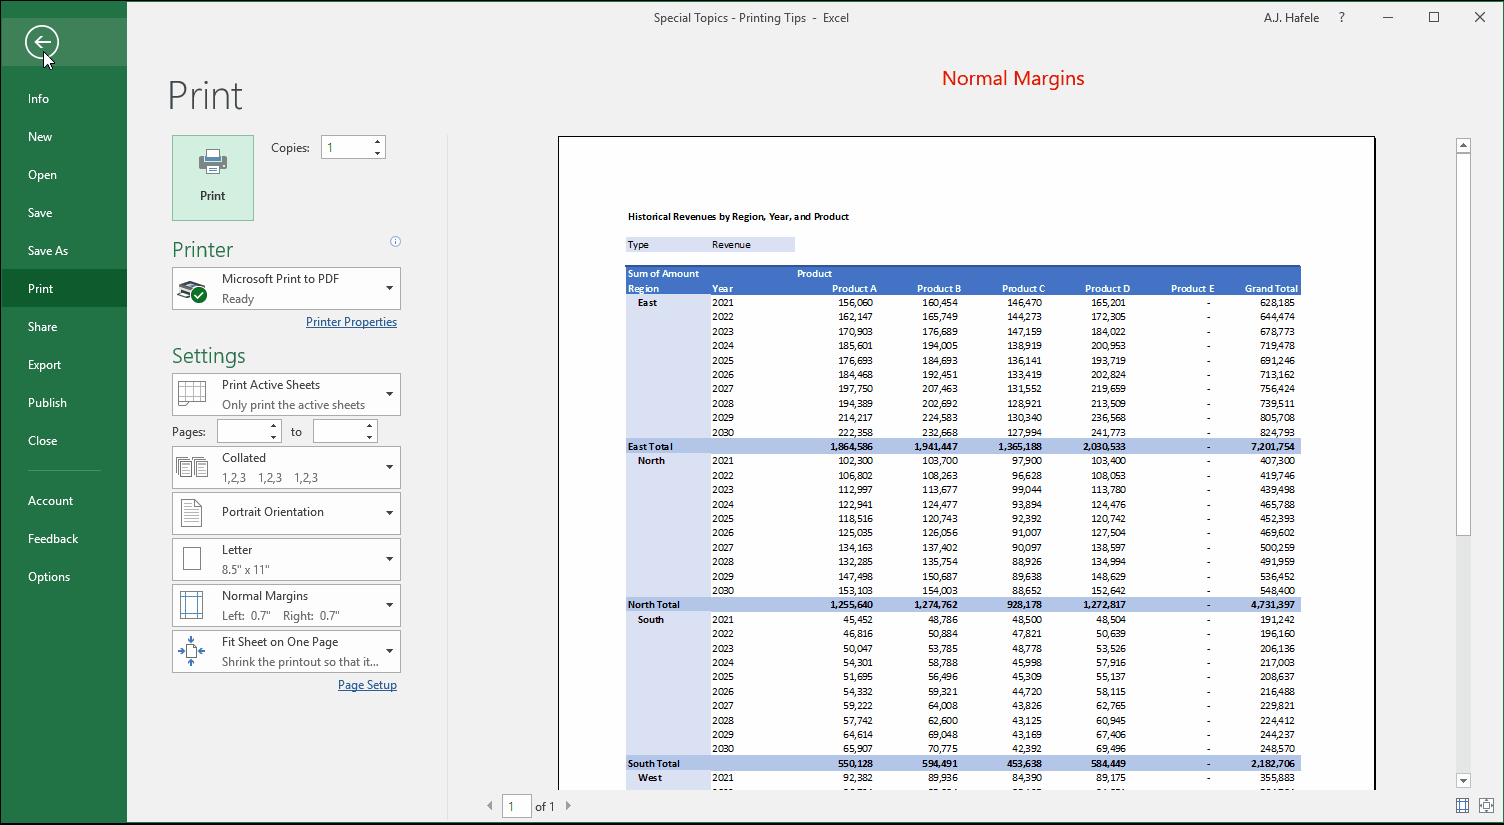
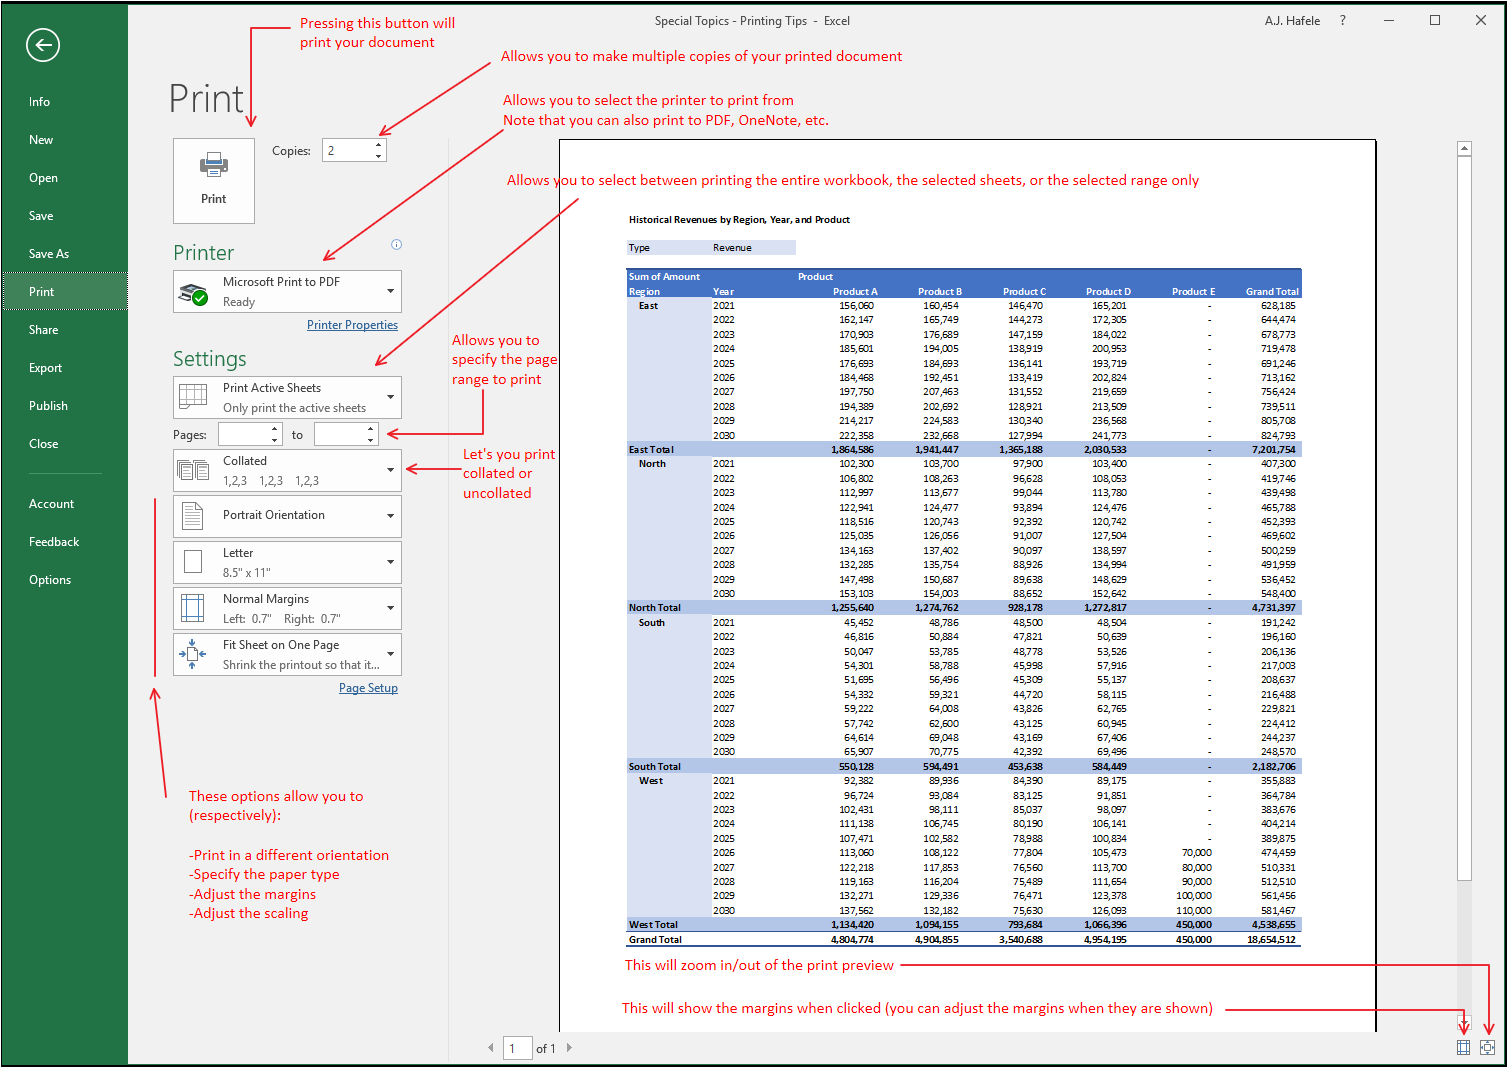
Last, there is an entire menu dedicated to printing within in the File tab:
In the above menu, the page on the right-hand side will give you a preview of what the printed data will look like
We will reference this print preview page often, for illustrative purposes
We will review how to use these menus / buttons in the sections below
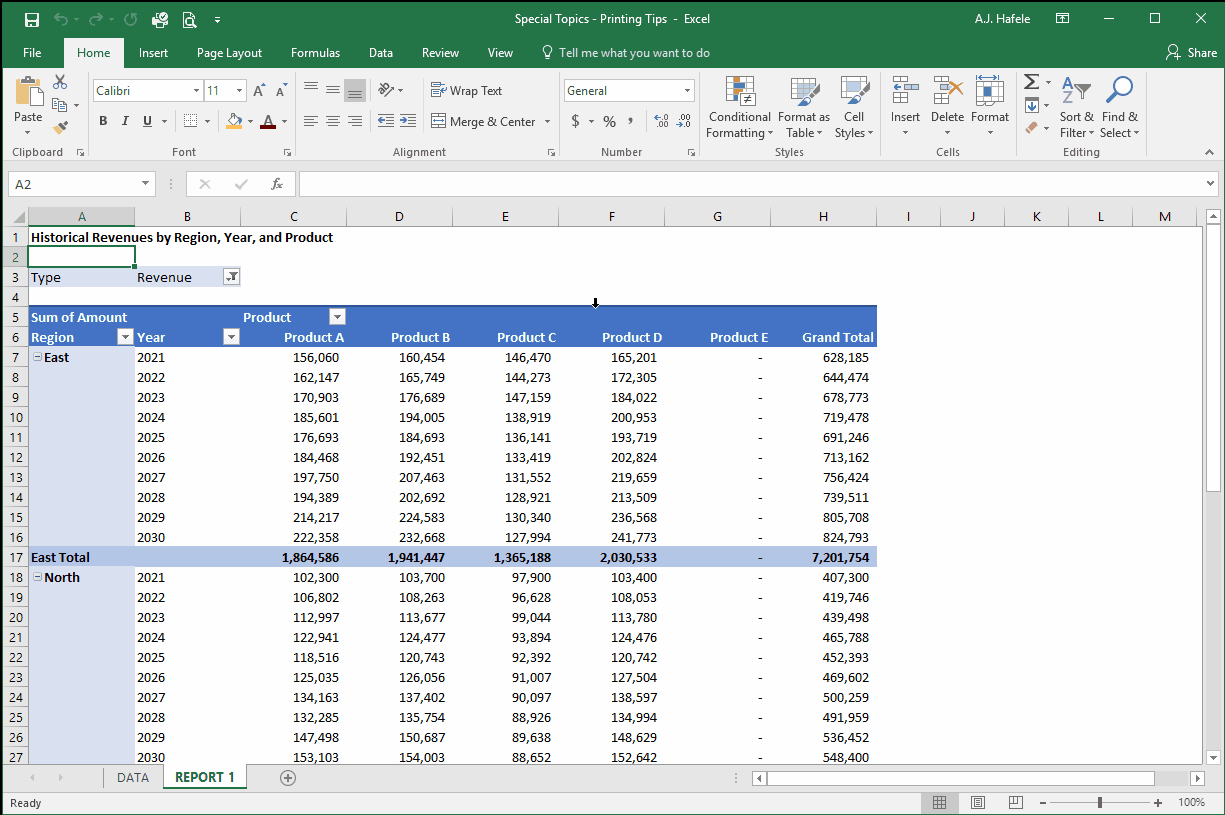
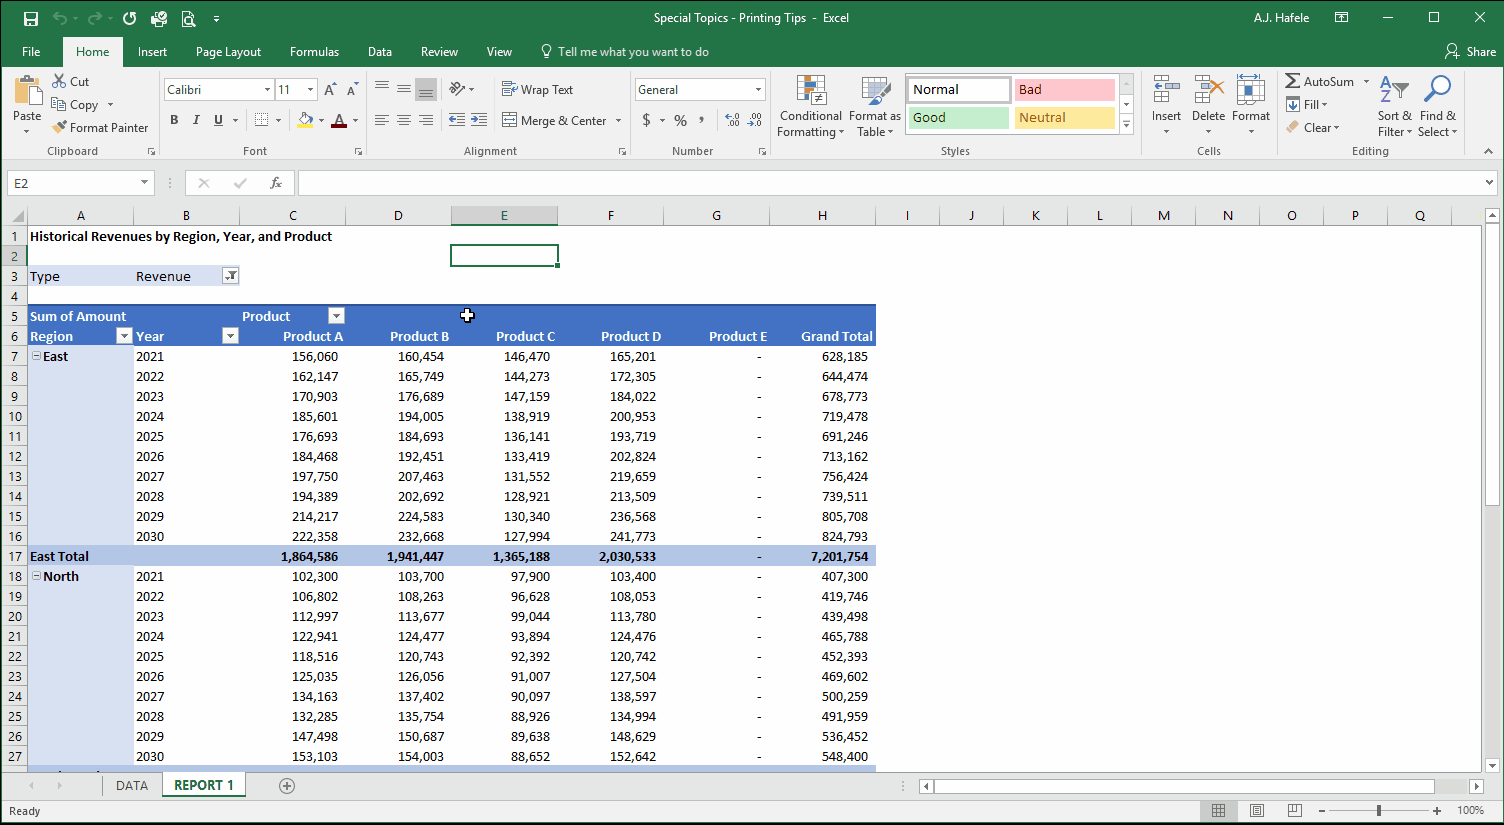
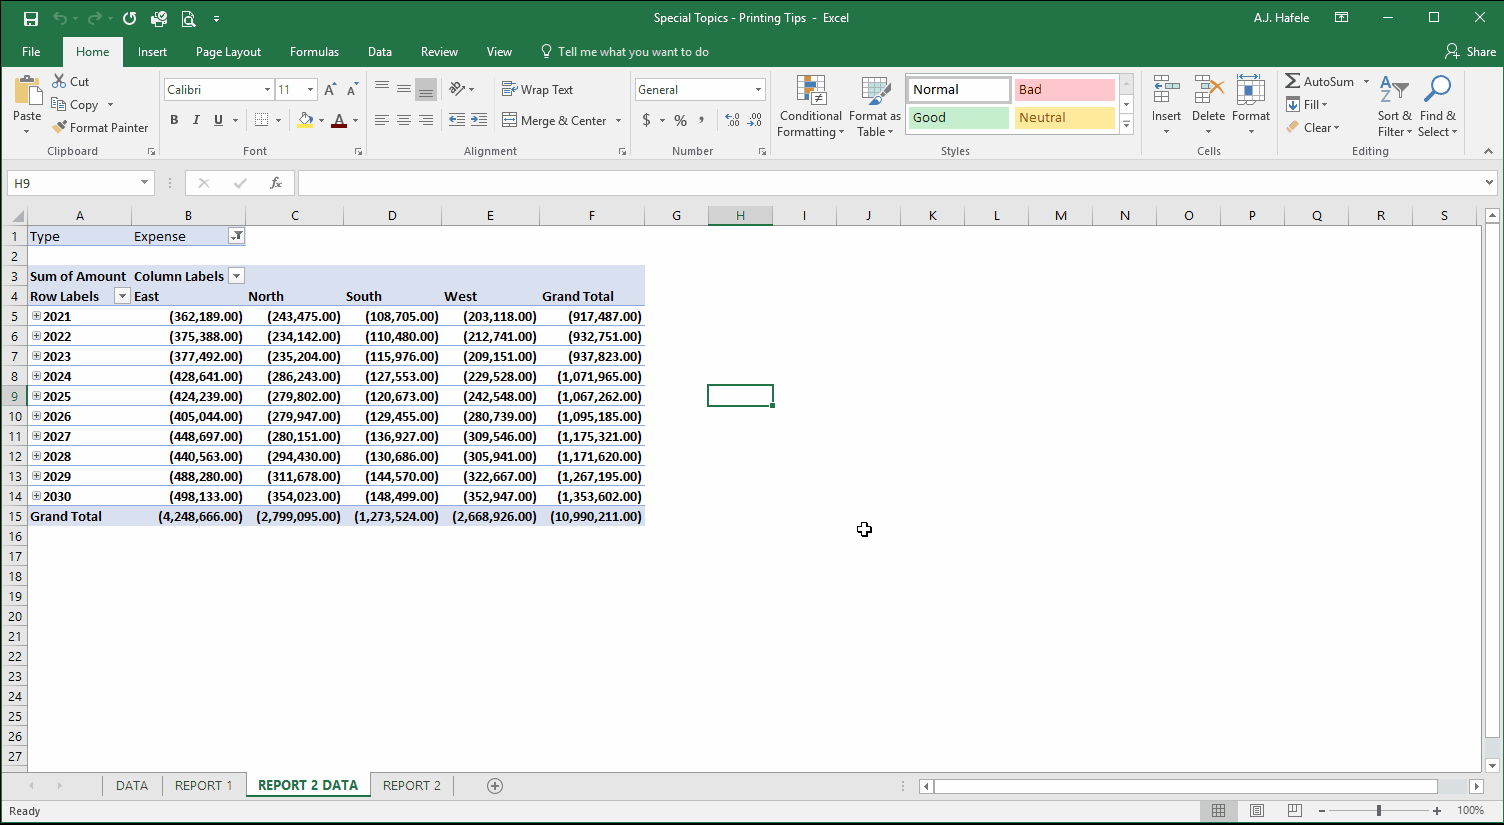
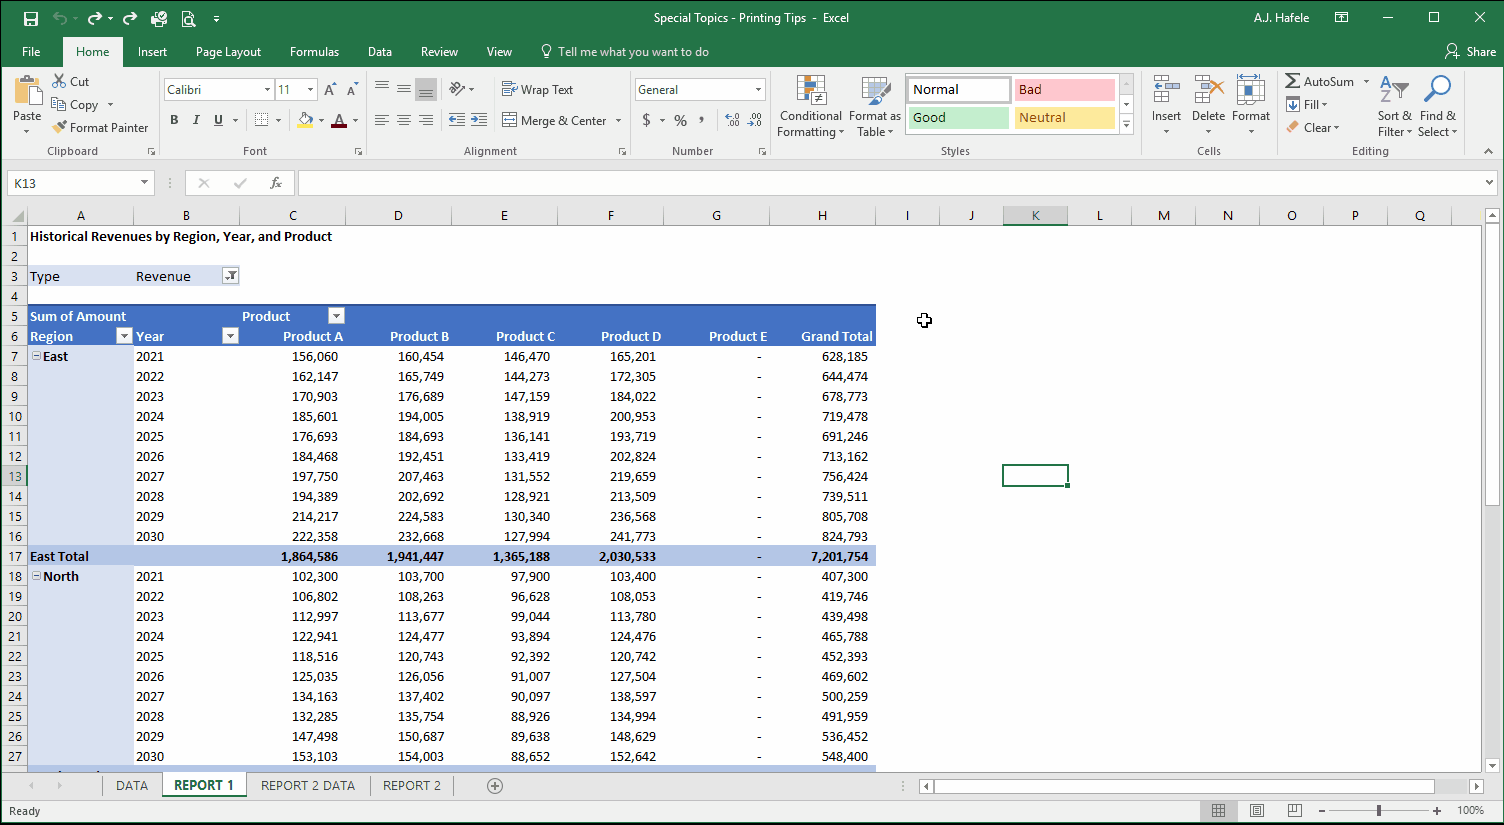
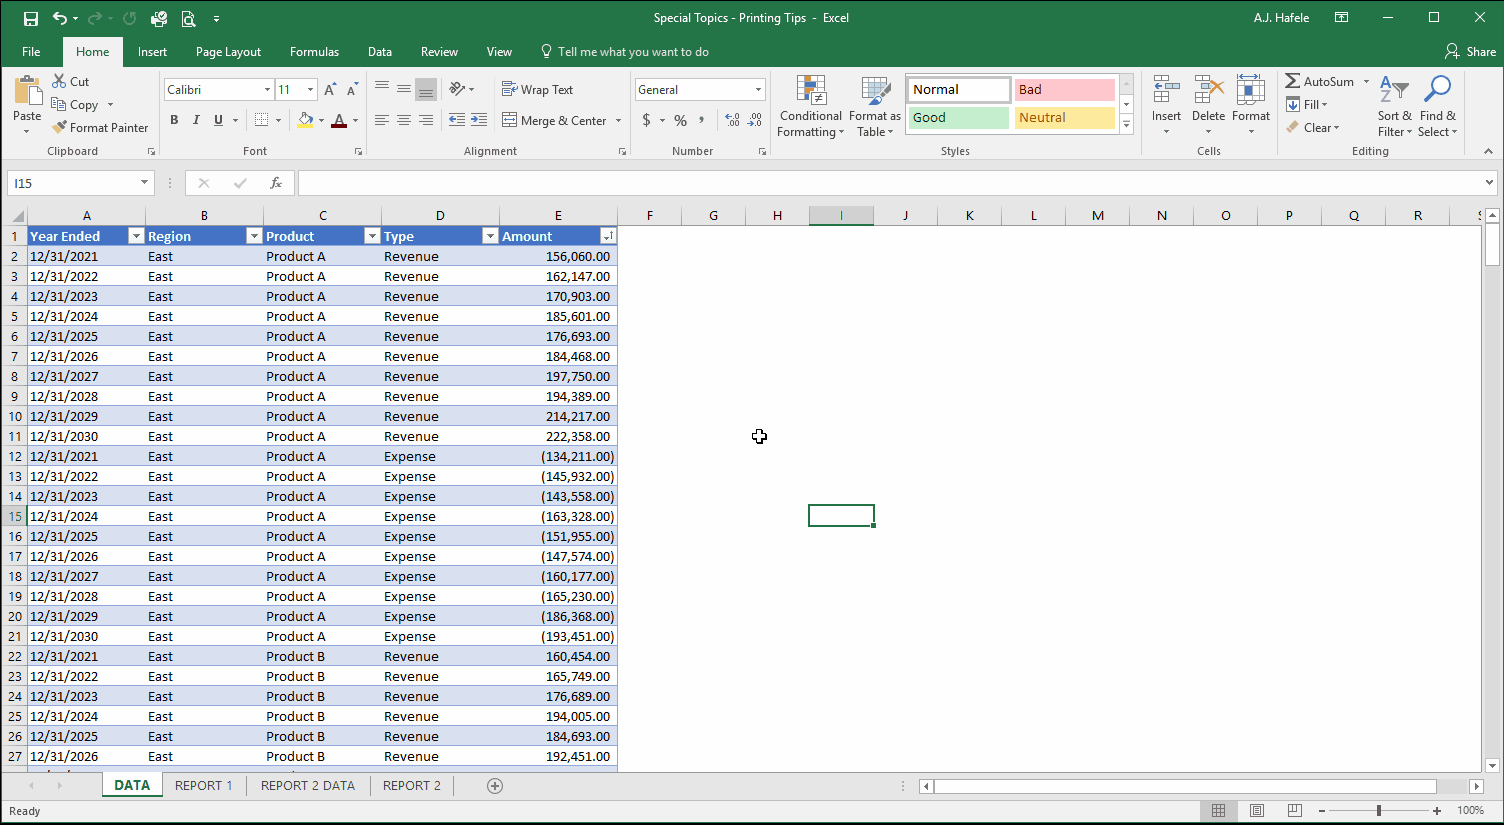
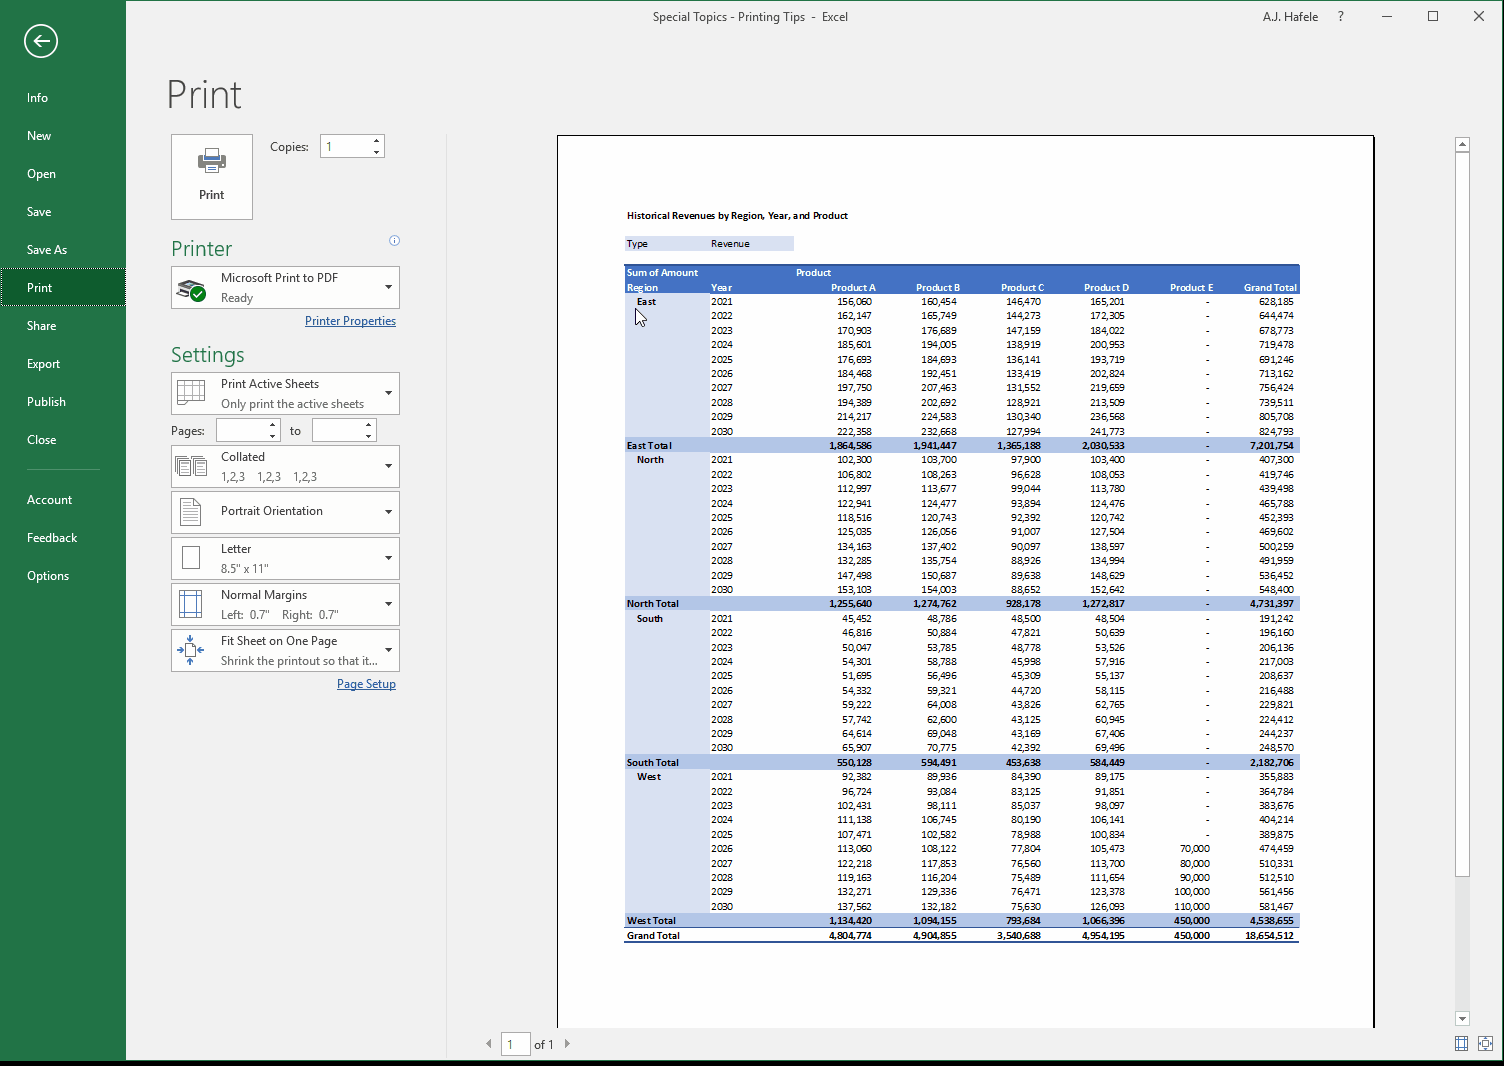
Sample Data For This Lecture
In the below sections, we demonstrate how to use the various printing functionality with sample PivotTable data
Note that the content of the data is not important for this lecture, since our focus is on printing
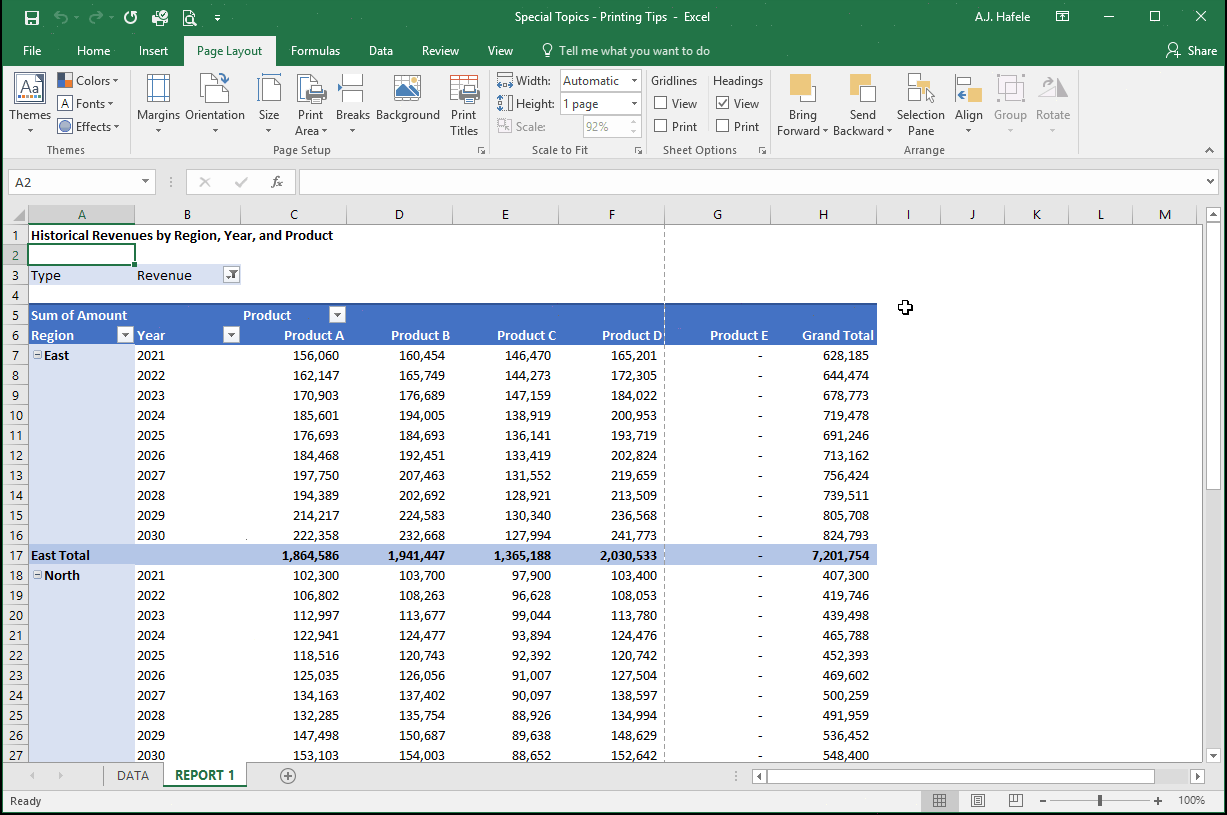
Width and Height Scaling
Typically, users want to print all columns of data on a single page
This can easily be done by adjusting the width scaling, as shown here (note that we will use Print Preview to show how the changes will impact the printed version):
Notice that, after scaling the width to 1 page (scaling goes to 74%), all of the columns (through the Grand Total column) can be printed on a single page
Be careful, however, if you have too many columns that you want to print; you can still set the width scaling to 1 page, but Excel may shrink the text too much
You may need to scale to 2+ pages in that case
Or, perhaps you should consider reducing the number of columns, or creating multiple reports - you may be trying to present too much information in a single report
You can also scale the height to 1 page (or more) in a similar manner
Let's quickly scale both the column and height to a single page, so we are guaranteed to have everything on a single printed page:
Notice that the scaling reverted back to 74%, which is the lower of the 1 page height scaling (of 92%); a 74% scaling is necessary to get the remaining columns on the page
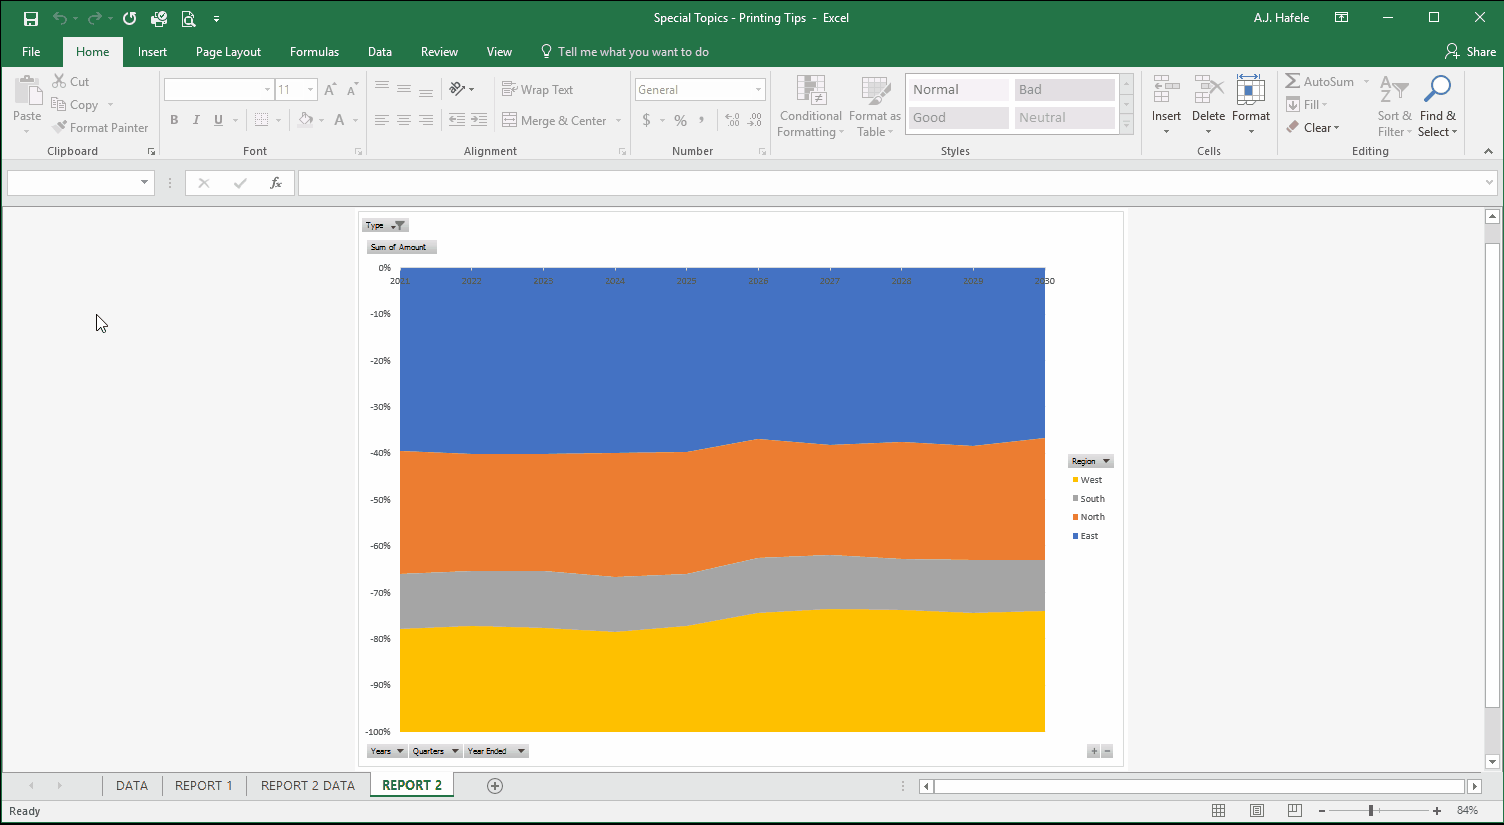
Page Orientation
One of the basic questions to ask before printing is whether you want your data to be in landscape or portrait orientation
This decision is primarily a matter of preference, but note that landscape orientation gives you more width with less page length, and portrait orientation give you the opposite
Changing page orientation is very easy. To change your page orientation, do the following:
Clearly, landscape orientation is much better than portrait orientation for this chart
Print Margins
Excel, like most applications, allows you to set print margins in your workbook
Print margins are essentially the blank white spaces on the edge of your paper
Typically, having sufficient margins makes your printed reports look clean, but sometimes you may need to sacrifice margins to put more data on a page (or vice versa)
Setting margins is very easy. Observe as we select different margin types, including a custom one, which allows you to precisely define all margins:
Notice that Excel gives you the convenient option to use the last custom setting, instead of one of the 3 pre-defined settings
The following set of screenshot compares normal, wide, and narrow margins in print preview:
This illustrates that wider margins give you more white space on the edges of your paper, but the text ends up being shrunk (since we are scaling the report to fit on 1 page)
If we were not scaling, wider margins would mean that some columns and rows would get pushed off the page
Conversely, the above illustrates that narrower margins give you less white space but bigger, more readable text
If we were not scaling, narrower margins would mean that more columns and rows would fit on the page
Print Gridlines and Headings
Sometimes, you may want to print the gridlines and/or column/row headings
This can easily be done as follows (shortcuts for printing gridlines and headings are ALT, P, P, G, and ALT, P, P, H, respectively):
Set Print Area
If you need to print only a specific portion of a worksheet, consider setting the print area
The following illustration shows us setting the print area to capture only the East region data; we also clear the print area so all data is in-scope for printing:
Repeat Topmost Rows (Headings) On Each Print Page
When you need to print data that spans multiple pages, you may desire to repeat the data in the topmost rows (or leftmost columns), as those ranges typically include heading-type information
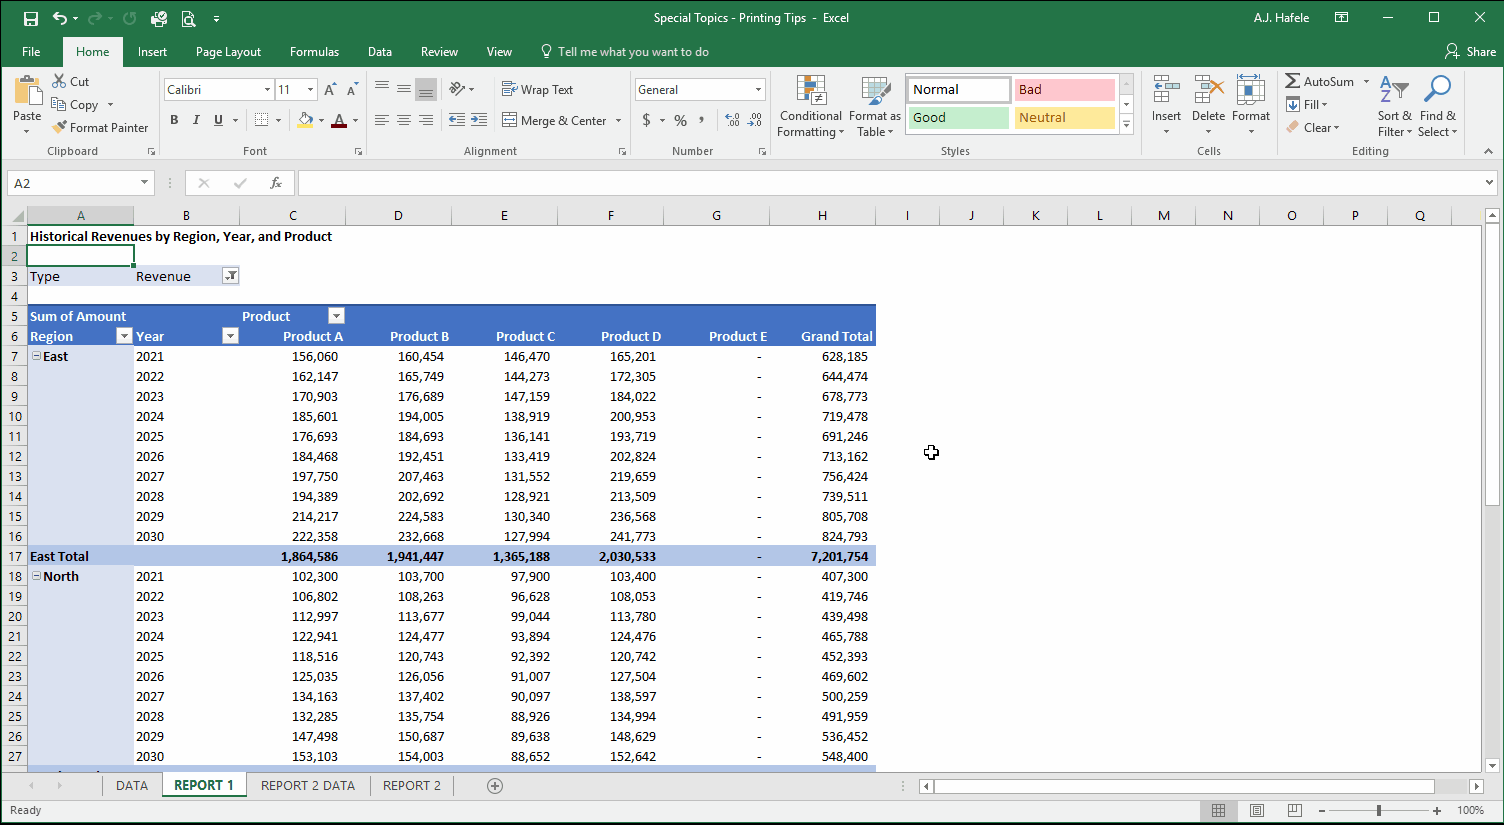
Imagine, for example, we need to print our raw data table (in the DATA worksheet), but we need to see the table's field headers on each page (instead of on just the first page)
We can do this by repeating the topmost row on each print page, as follows:
As you can see, after setting row 1 to repeat, the field headings are present on every page!
Though not shown, the same can be done for columns if necessary
Page Layout View
Page Layout view presents your worksheet in the manner in which it will be presented
It also gives you access to modify headers and footers
Observe as we change our view from Normal to Page Layout:
As you can see above, Page Layout has placeholders which allow you to add headers and footers
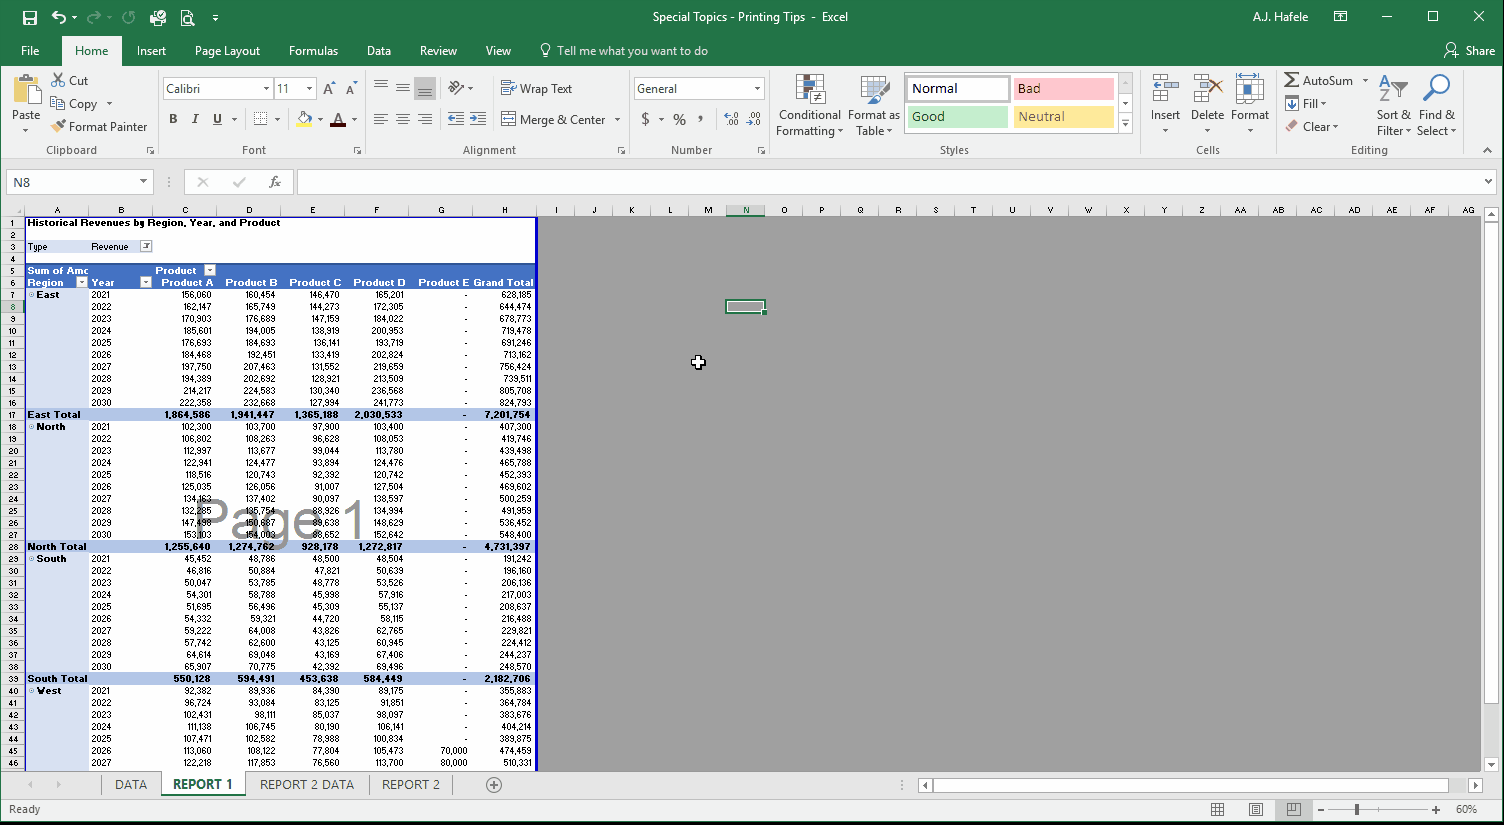
Page Break Preview
Another useful view is Page Break Preview
It presents in a clear manner how your pages are separated
In the following illustration, observe how the page breaks change as we modify width and height scaling:
Page Breaks
In some circumstances, you may need to precisely specify where page breaks are located
To insert (and remove) page breaks, use the Breaks buttons in the Page Layout tab, as shown here:
Headers and Footers
In REPORT 1, we placed the report title in cell A1. However, we also have the option of placing it in an actual header (that is not in any cell in the worksheet)
Let's demonstrate how to add both headers and footers:
Notice that, even though the headers and footers are not shown in Normal view, they will still be printed (as evidenced by print preview)
Here is the screenshot of the header/footer design tab once again:
Take a moment to look at the options available to you (and experiment with them sometime!)
In particular, note that you can specify a different first page header/footer, and you can have different headers/footers on odd/even pages
Other Print Menu Options
Worth mentioning are a few other items located in the Print menu here:
We have already experimented with some of these options, but not all of them
For reference, let's quickly see what selections are available for these items: