Excel offers the ability to restrict how users can modify Excel files in a couple of ways: workbook protection and worksheet protection
"Workbook protection" allows us to restrict users from adding, removing, and modifying worksheets within a workbook
"Worksheet protection" allows us to restrict users from performing certain actions within a given sheet
Conveniently, we get to choose the applicable actions and cells subject to this protection
These options can be very useful when you want to control what other users can and cannot do (i.e. you want to give them a limited ability to modify the file)
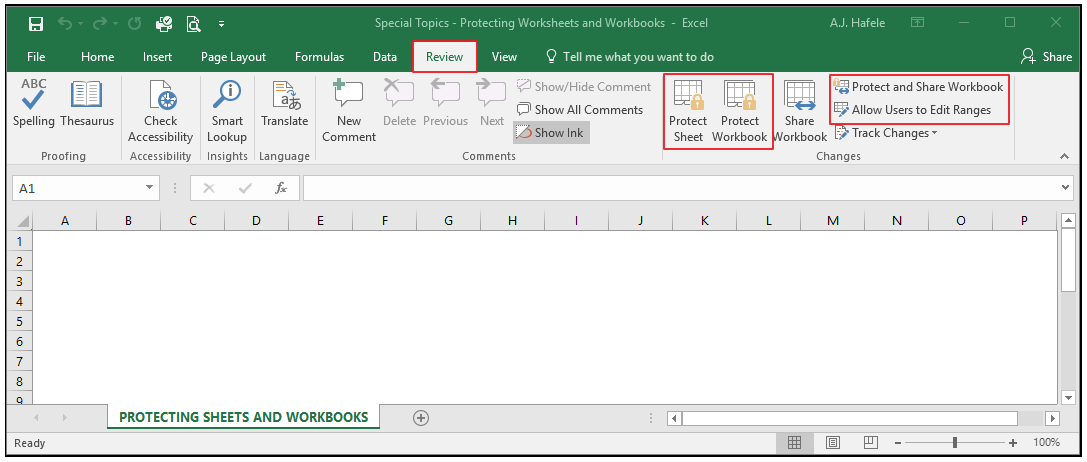
Buttons
The relevant buttons can be found in the Changes group of the Review tab:
Note that the two rightmost buttons are out of scope for this lecture
To read more about the "Allow Users to Edit Ranges" button, read here
Worksheet and workbook protection options can also be found in the Info menu within the File tab (in later versions of Excel), as shown here:
Note that:
The Protect Current Sheet button here is the same as the Protect Sheet button in the Review tab
The Protect Workbook Structure button here is the same as the Protect Workbook button in the Review tab
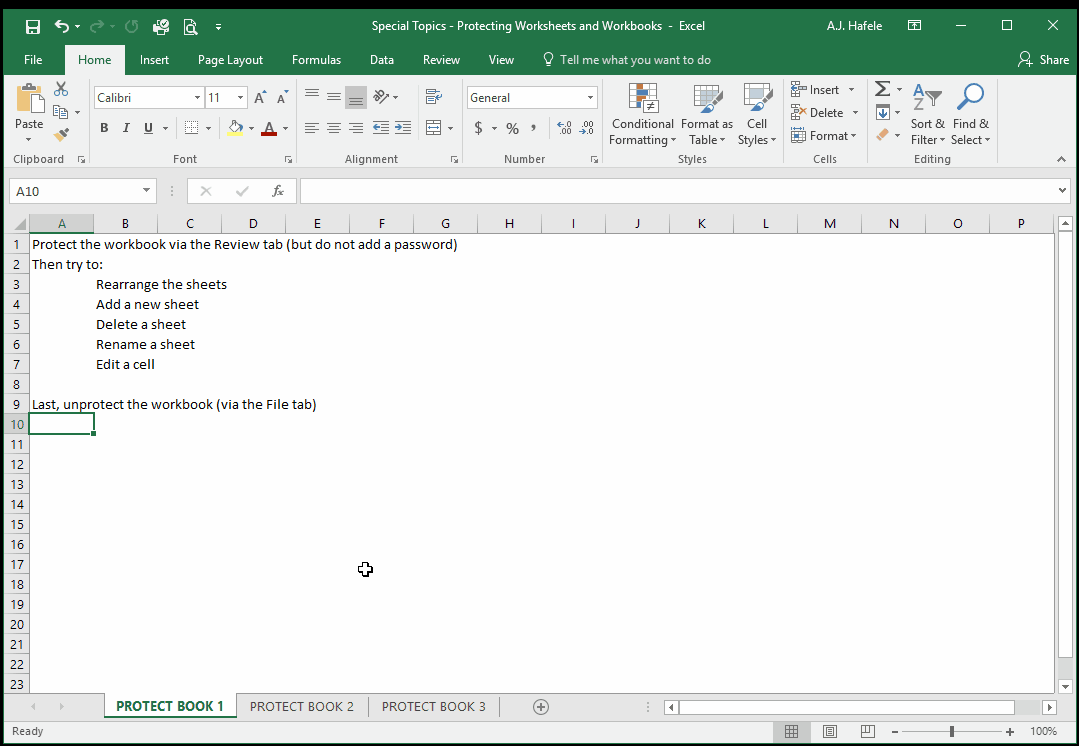
Protecting Workbooks
"Protecting workbooks" refers to preventing other users from:
Hiding and unhiding sheets
Adding, moving, or deleting sheets
Renaming sheets
Observe as we protect our workbook, try to make structural changes, and then unprotect the workbook:
Notice that:
When the workbook is protected, many of the buttons (such as the + button used to add a new sheet) are completely greyed out and unclickable
We unprotected the workbook by clicking the Protect Workbook Structure button from the File menu
You can also unprotect by clicking the Protect Workbook button located in the Review tab
After unprotecting the workbook, we can subsequently make all the modifications we want, such as rearranging the sheets
Last, keep in mind that you can opt to add password protection to this feature, but you are not required to create one
Protecting Worksheets
"Protecting worksheets" refers to restricting what other users can do to various aspects of a worksheet
Available restrictions include allowing (or preventing) users to:
Select certain cells
Format cells
Insert /delete rows and columns
Insert hyperlinks
Sort /filter
Use PivotTables / PivotCharts
Edit objects and scenarios
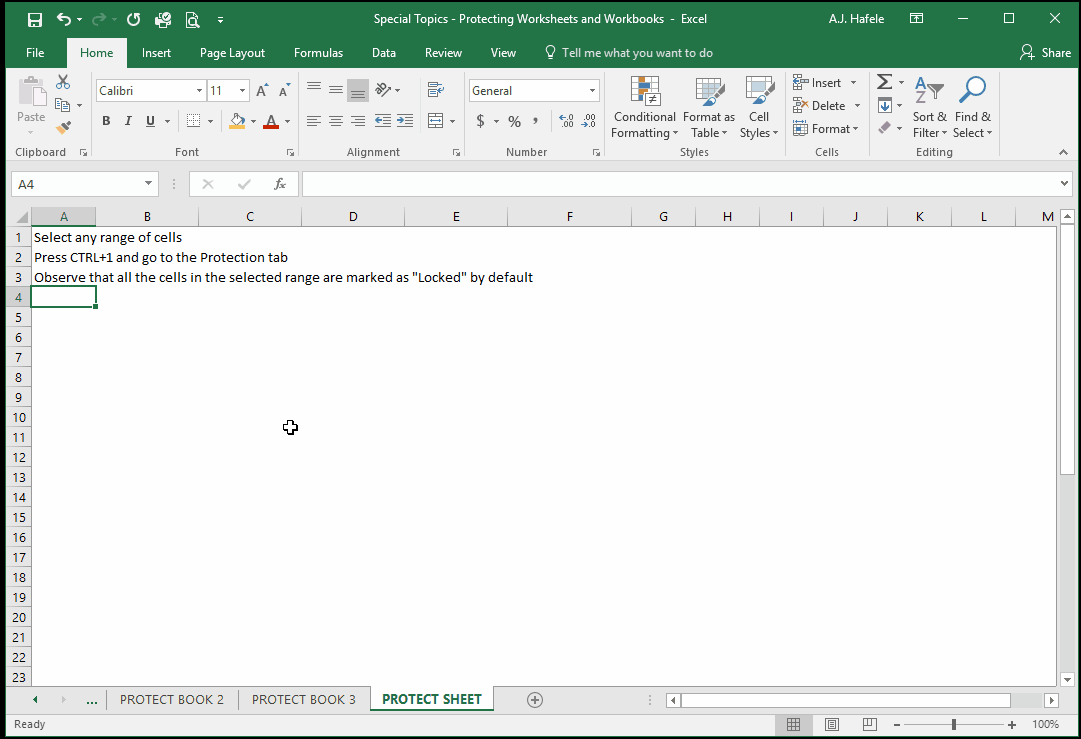
Importantly, you can specify which ranges cells are protected, and which are not protected. How?
By default, every cell in every sheet comes "locked", as shown here:
How are locked cells used, exactly? They are only used (and thus relevant) when a sheet is protected. If the sheet becomes protected, protection will apply only to the cells that are locked
Therefore, since all cells are locked by default, protection initially applies to all cells
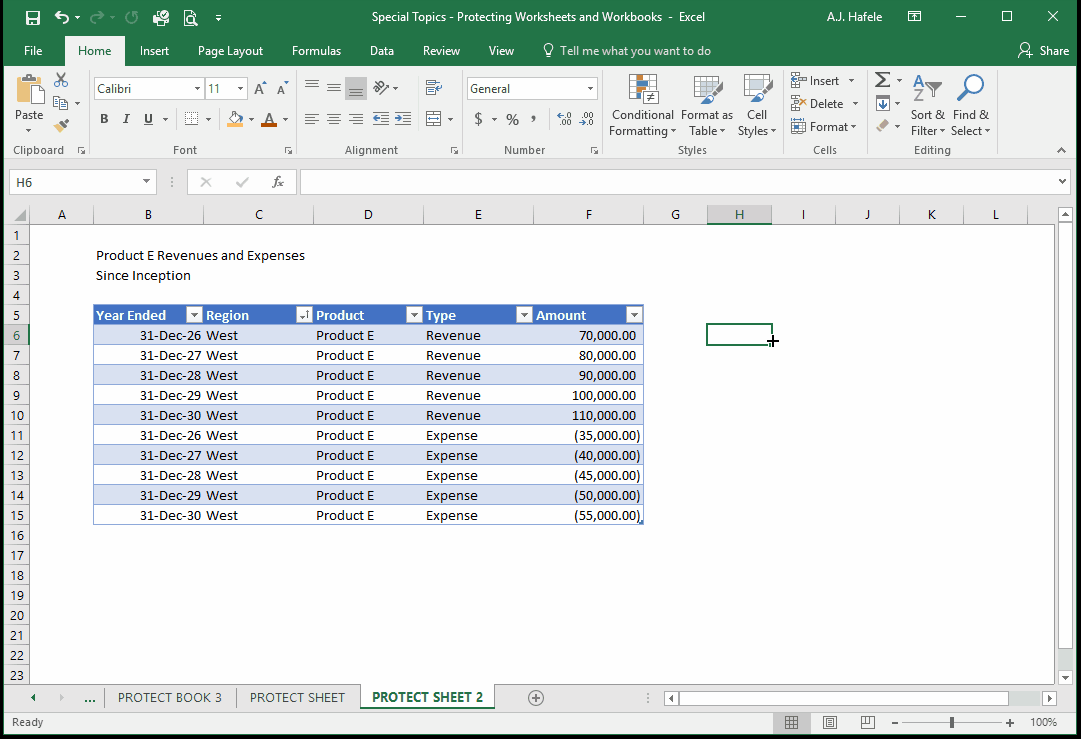
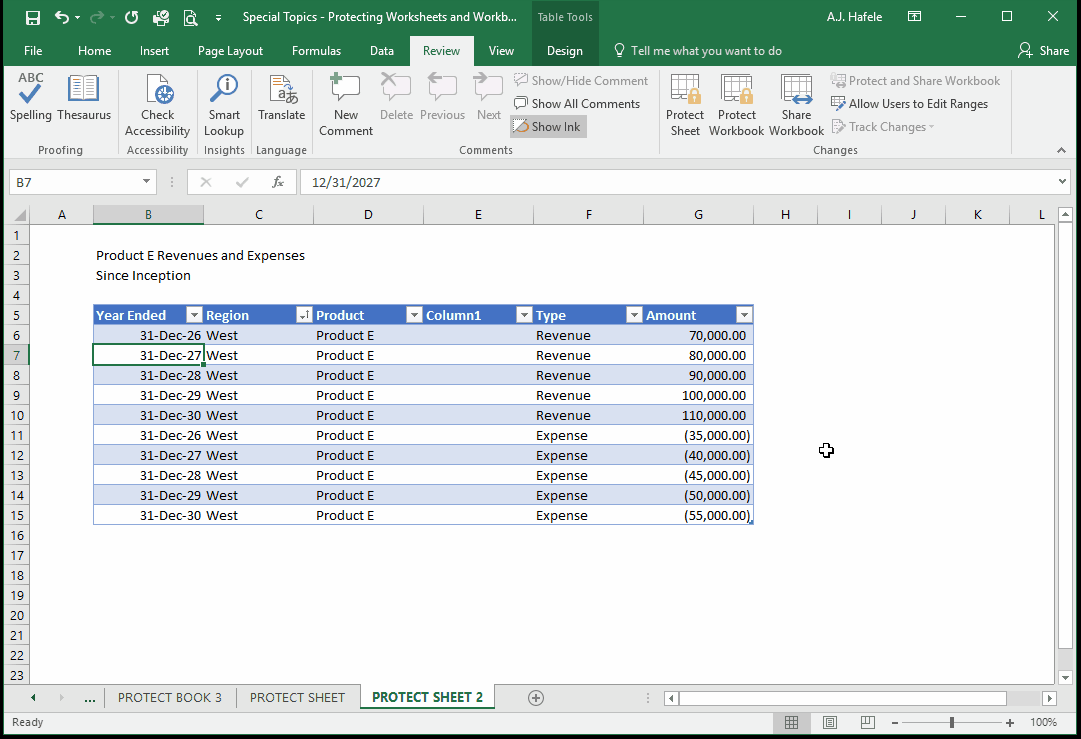
Observe as we apply protection to all cells in the following example and then try to select/sort/modify the table (all cells are locked by default in this example):
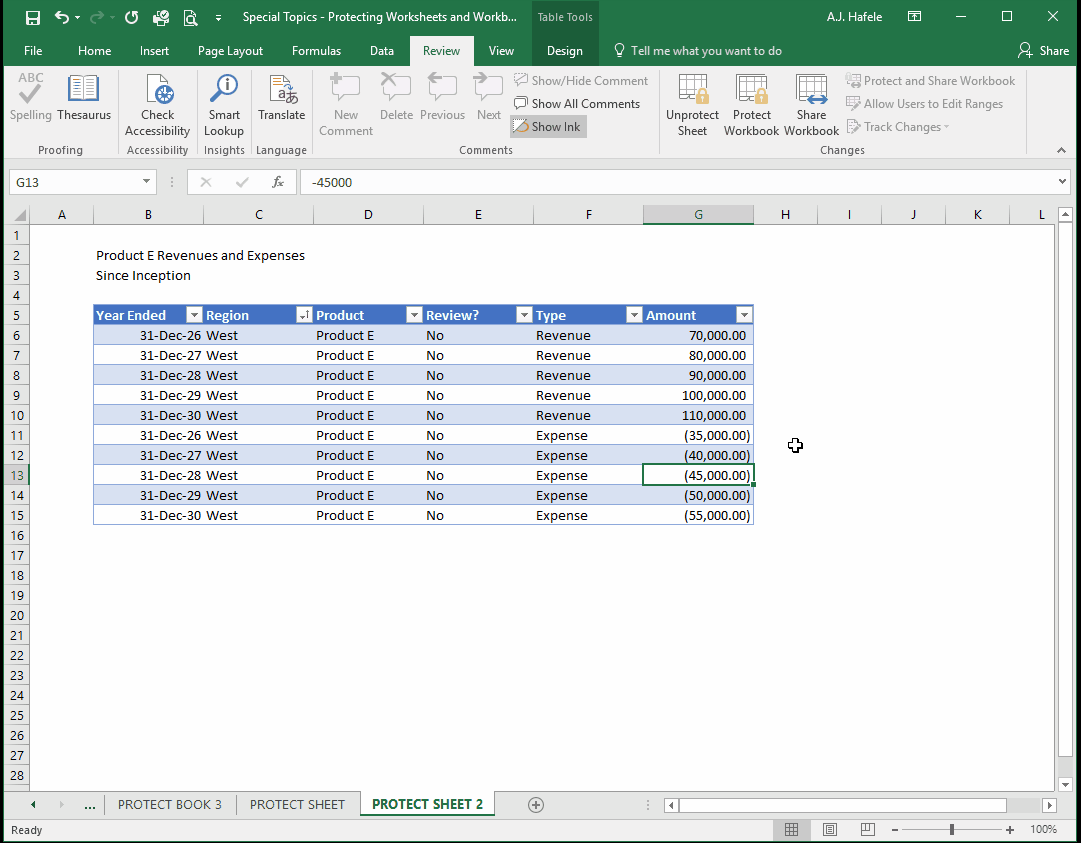
Continuing with our example above, let's unlock the cells in the table, add protection again, and then try to modify the table:
Notice that we could modify cells in the table, but we could not sort or filter!
Let's tweak that by checking "Sort" and "Use Autofilter" in the Protect Sheet menu, as shown here:
Now we can sort and filter the table!
Notice that:
We had to first unprotect the sheet, and then re-protect the sheet with the two additional options checked
We are still not able to modify any cells outside of the table, nor can we insert or delete columns and rows (among other things); in other words, we can only do what is allowed as per the Protect Sheet menu
Last, as with protecting workbooks, you can require a password to unprotect a worksheet, but this is also optional (we did not add one in the above examples)