In order to use Excel in an efficient manner, you should be familiar with how to navigate the application
Seasoned Excel users are already familiar with the layout, but it is nevertheless good to review
Beginners may find the layout a bit overwhelming at first, but do not get discouraged! You will become much more comfortable with Excel's interface as you progress through each lecture
If necessary, please feel free to open up a blank workbook and replicate the illustrations below
Excel's Layout
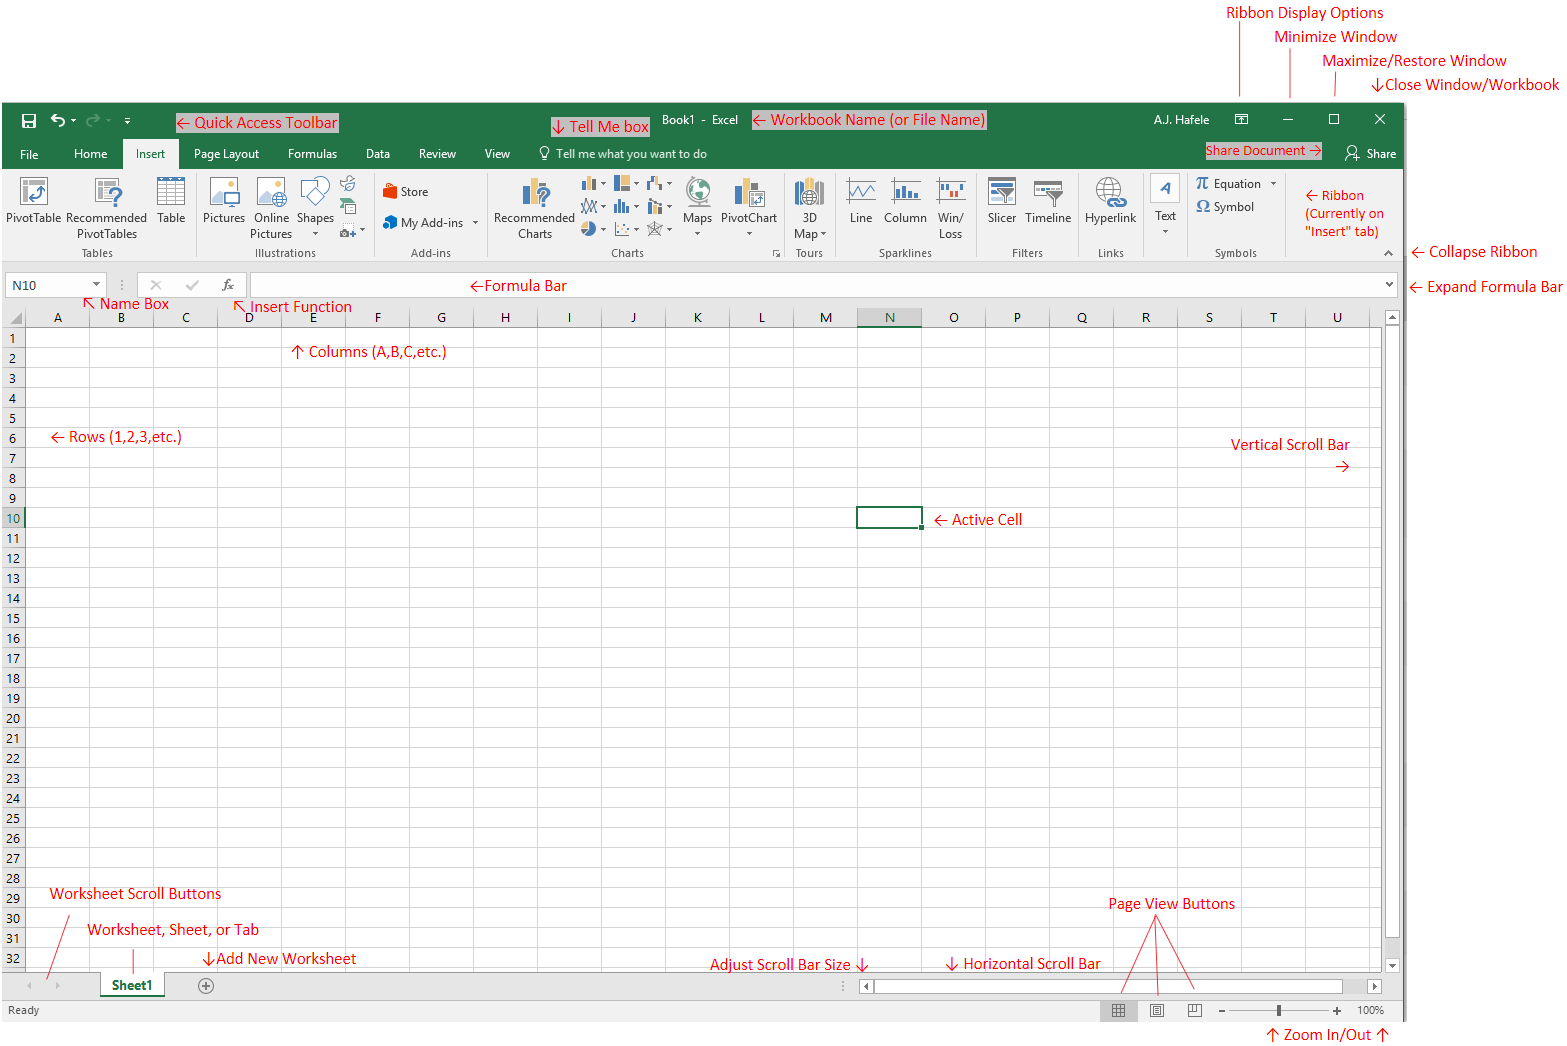
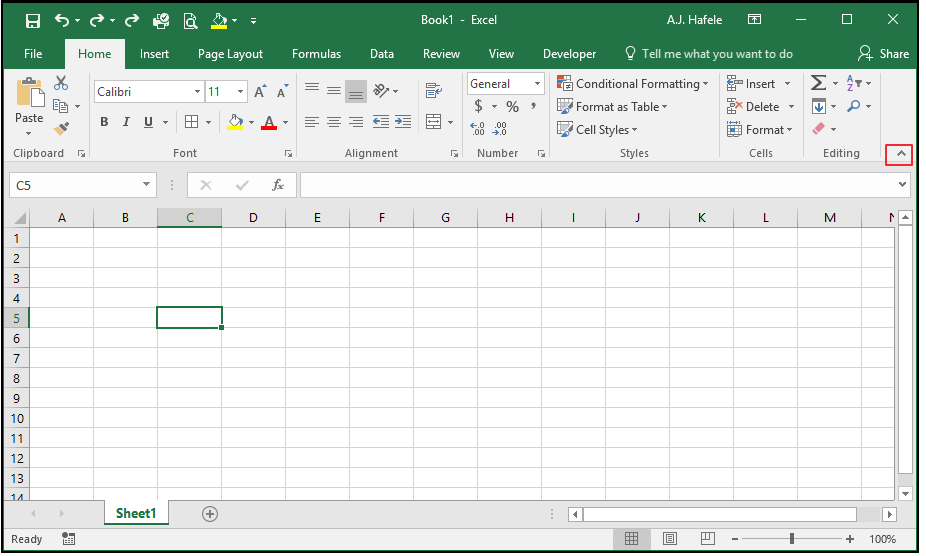
Review the following screenshot, keeping in mind the terminology used:
Refer back to this screenshot (as needed) as you read through this lecture
Let's now review what these buttons actually do (with one exception: the Share Document button is out-of-scope)
Workbook Name
The name of the Excel file is located at the very top of the Excel window
Unsaved file names are typically "Book1", "Book2", "Book3", etc. with each new unsaved workbook opened
Saved file names can be whatever you want, assuming valid characters are used (e.g. special characters such as "?" cannot be used)
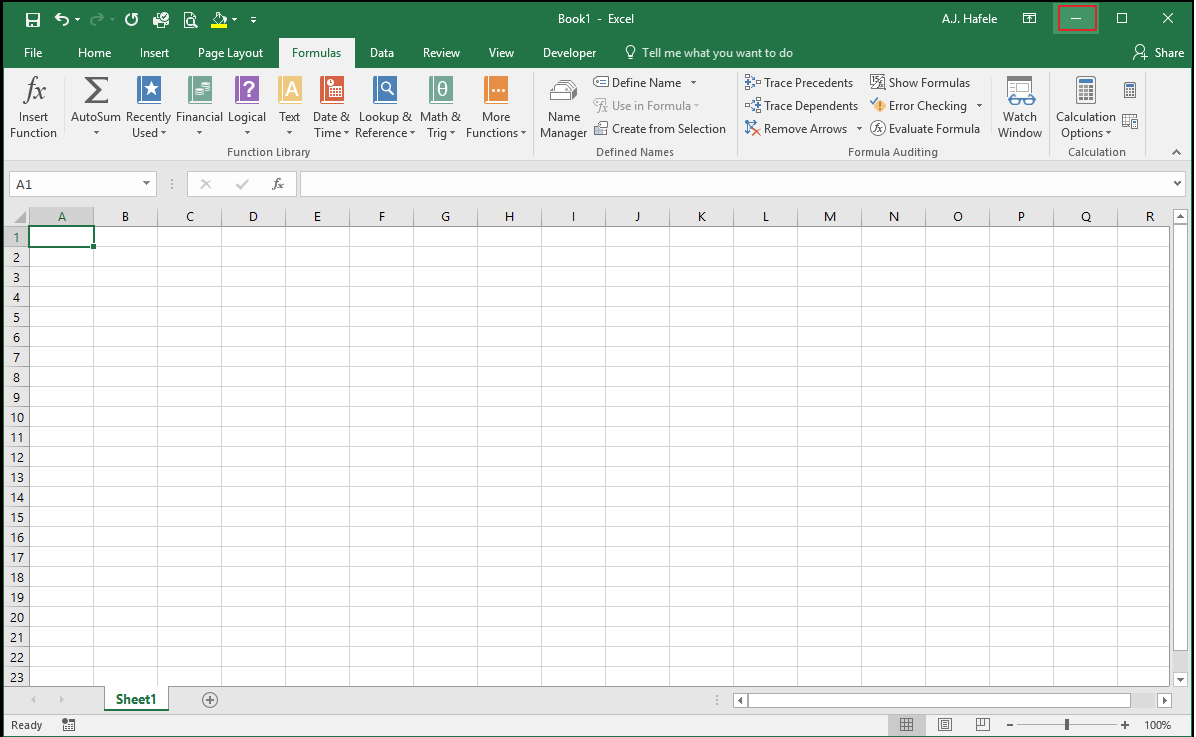
Minimize Window
This button moves the entire Excel workbook to the Windows taskbar
This button works in a manner similar to most applications in Windows
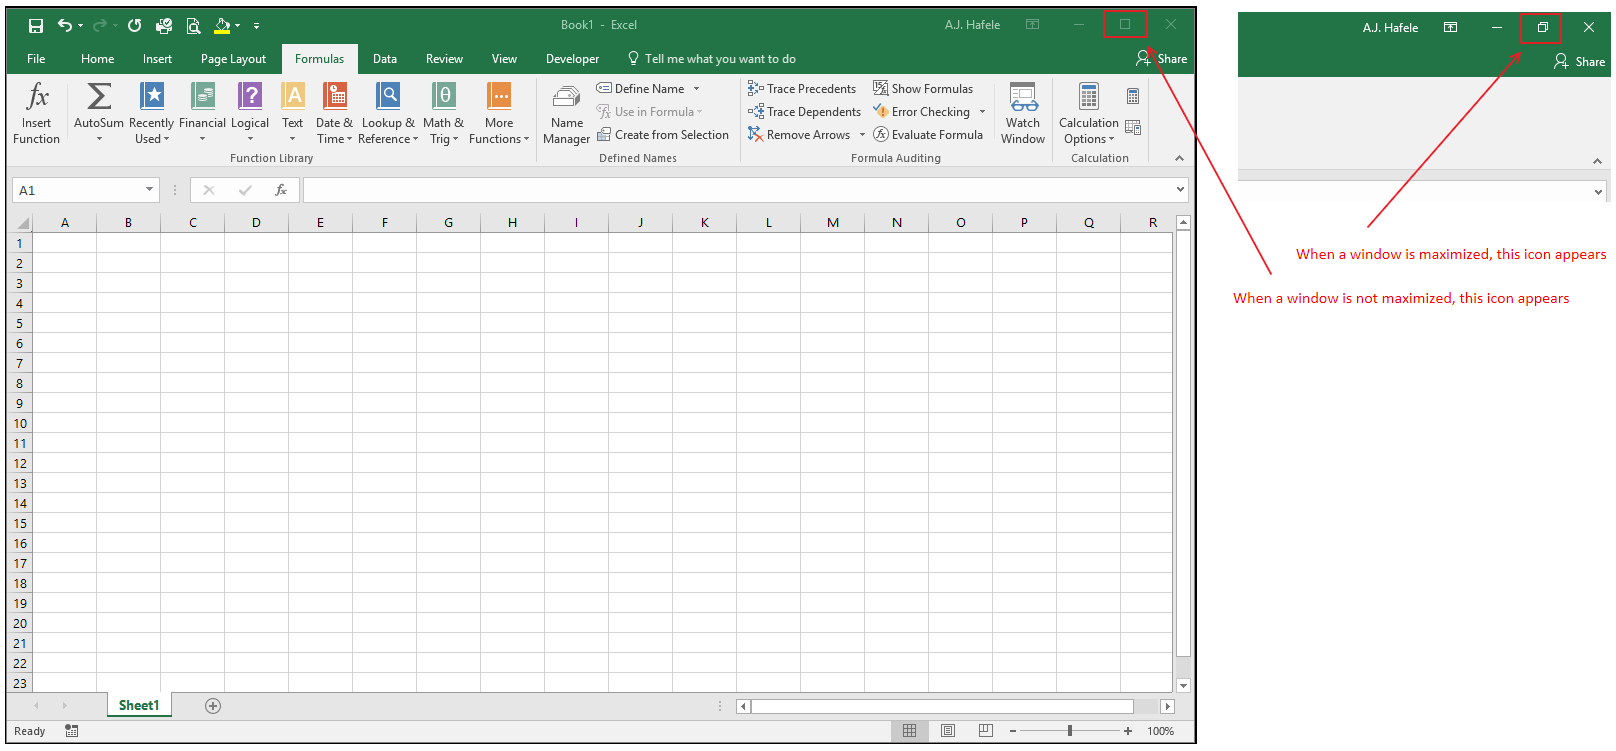
Maximize/Restore Window
If the Excel window is not maximized, this button will maximize the window to cover the entire screen
If the Excel window is maximized, this button will restore to the previously-modified window size
This button works in a manner similar to most applications in Windows
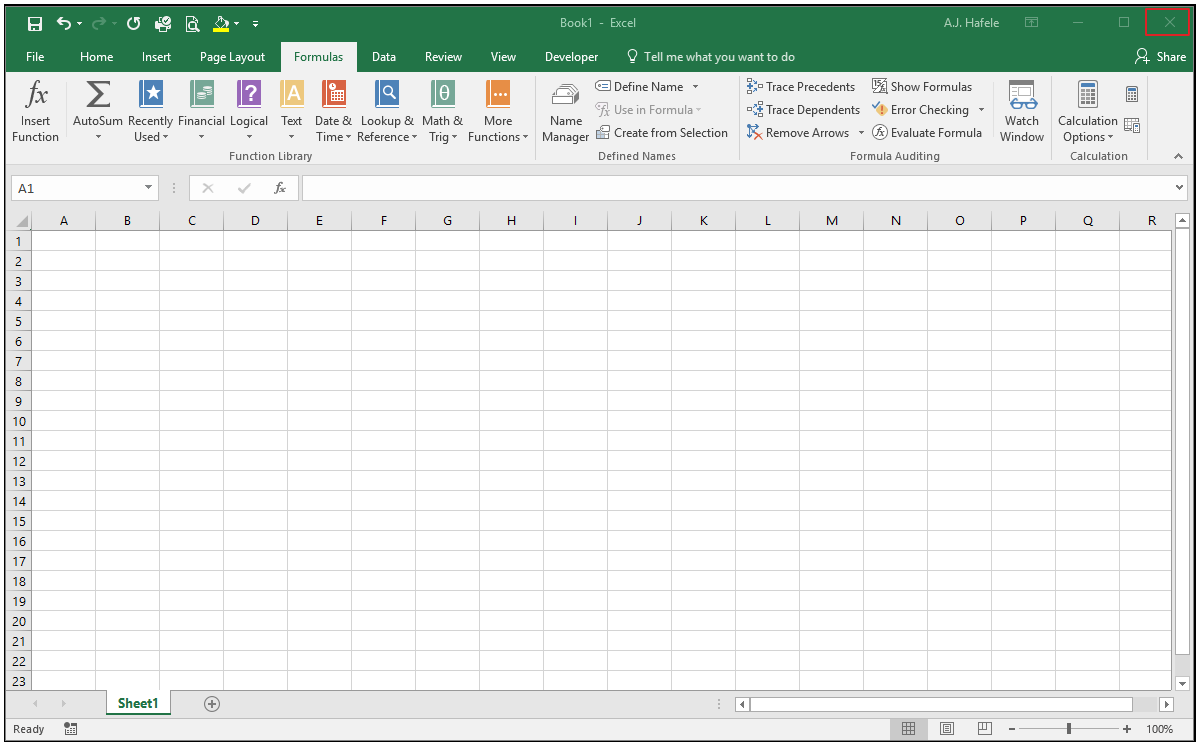
Close Window/Workbook
This button closes the Excel workbook
If the workbook has not been saved, Excel will ask if you want to save the file (and you can choose between saving and not saving)
This button works in a manner similar to most applications in Windows
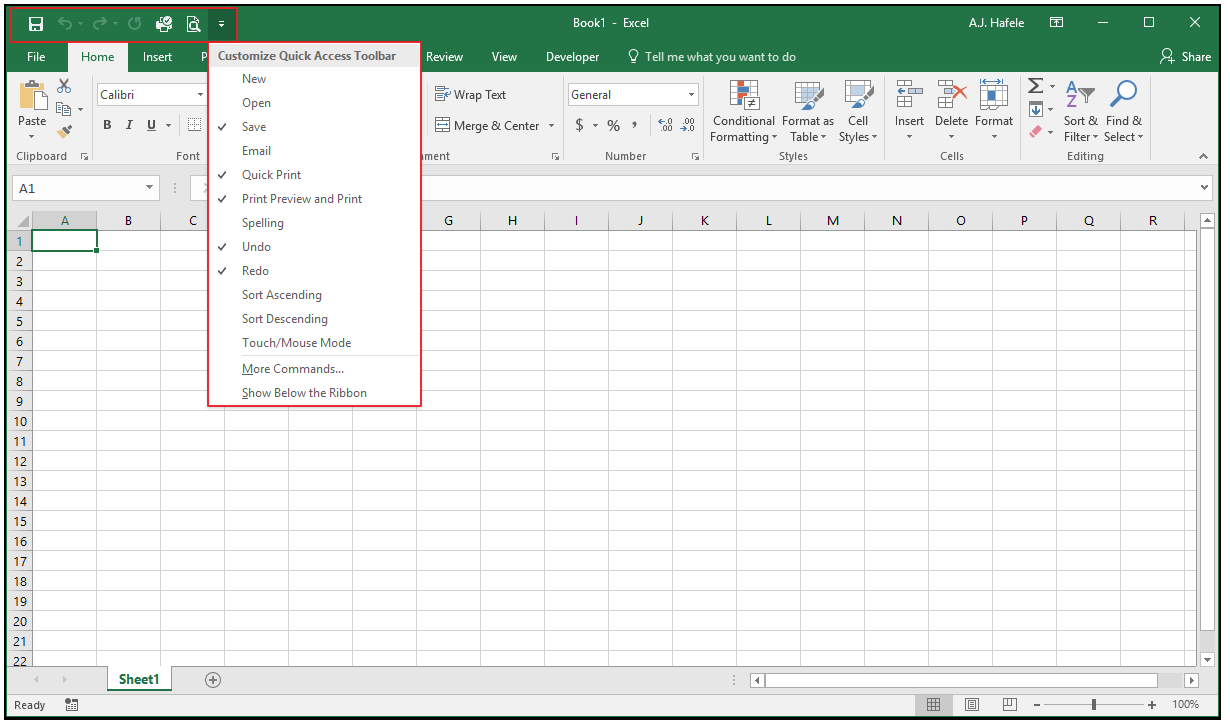
Quick Access Toolbar
The Quick Access Toolbar is a toolbar that users can customize to quickly access certain commands (save, undo, redo, print preview, etc.)
Commonly-used options are easily selectable via the drop-down Customize Quick Access Toolbar menu, as shown in the screenshot above
Additionally, many more commands can be found in the More Commands menu within Excel Options
For example, observe as we add the Fill Color button to this toolbar (to highlight cells):
The advantage of using this toolbar is that it will always be easily visible and accessible when your Excel window is open
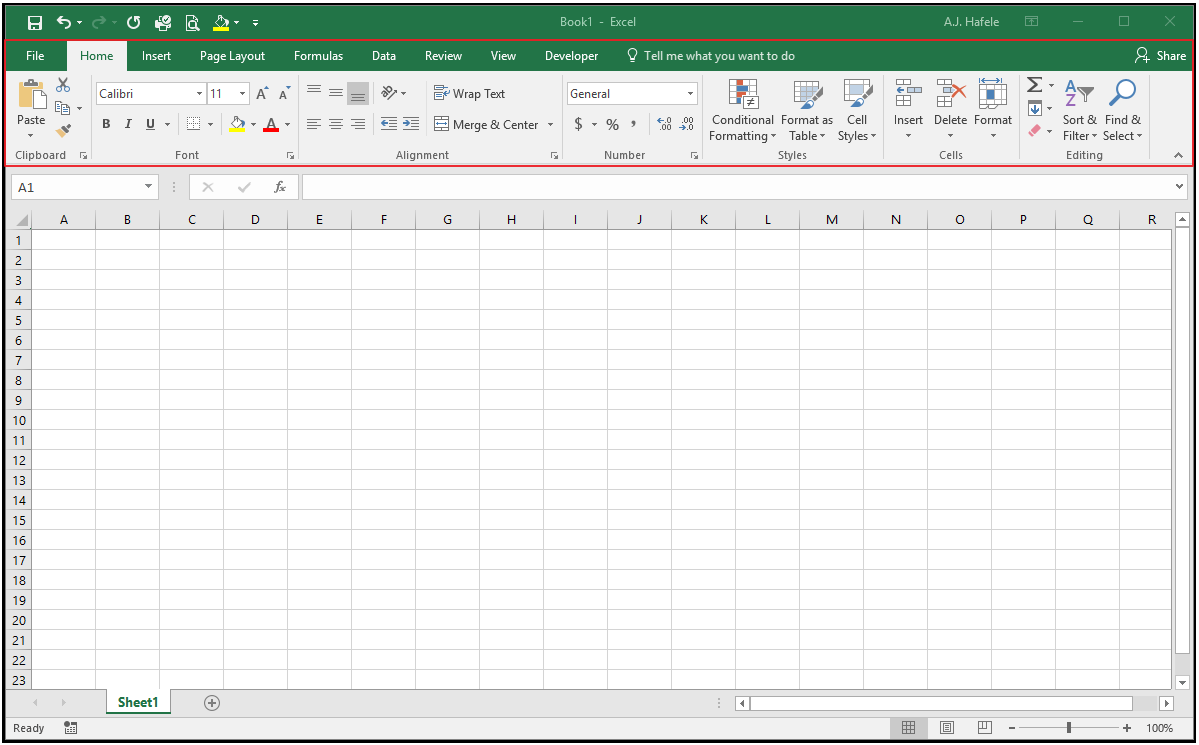
Ribbon
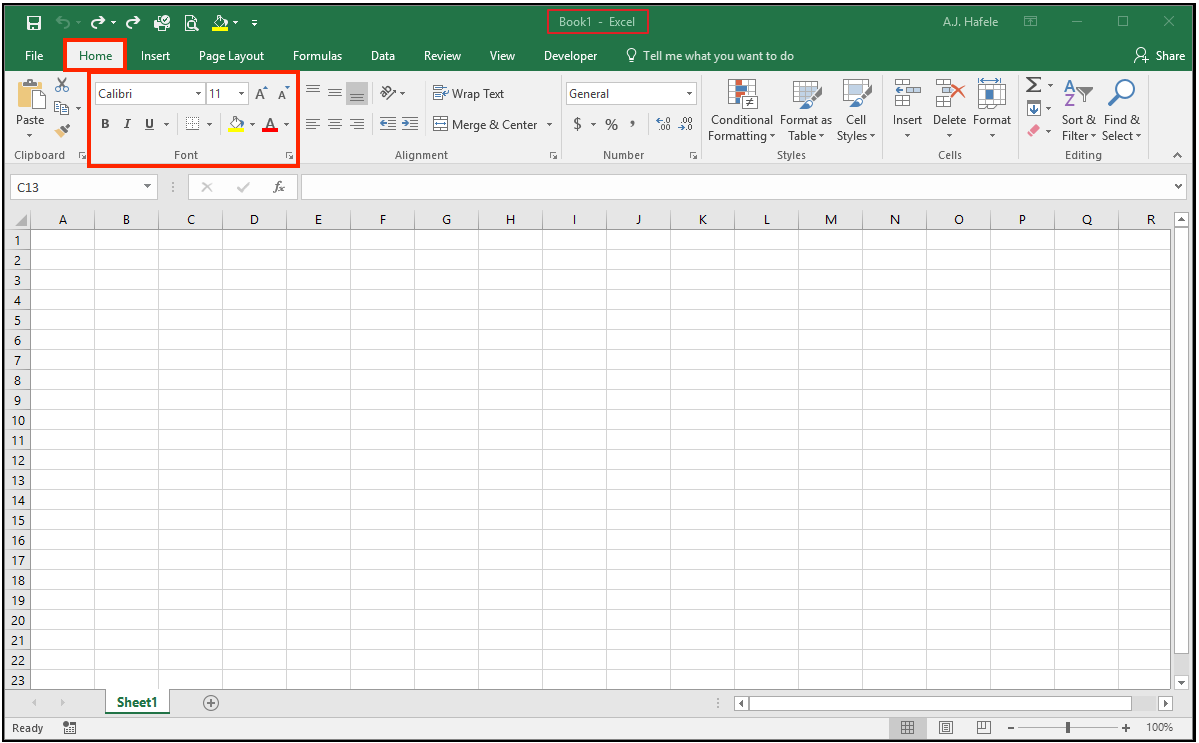
The Ribbon can be thought of as the main control panel of Excel, as most commands are available there
The Ribbon is organized into tabs, such as the Home, Insert, and Page Layout tabs, with corresponding buttons (commands) grouped logically within each tab
Note the terminology overlap - there are both Ribbon "tabs" at the top of the window, and worksheet "tabs" at the bottom of the window
Aspiring Excel gurus should practice using the ALT shortcuts to quickly navigate through the Ribbon
For example, to add all borders around a range of cells, select the cells and press ALT, H, B, A, as shown here (performed slowly this time, so you can observe the hotkeys on the Ribbon):
Last, it is important to recognize that Ribbon buttons will expand and contract as you resize your Excel window, as shown here:
The buttons work in exactly the same way, regardless of their size
You will notice us pressing contracted buttons in future lectures, but finding the corresponding expanded buttons is easy, as they are located in the same tabs (and general area) within the Ribbon
Collapse Ribbon
This button collapses or pins the Ribbon, effectively changing how much of the Ribbon you can see
The Ribbon is pinned by default, meaning that a Ribbon tab is always open and viewable in the Excel window (as shown in the screenshot above)
If you want to subsequently pin (i.e. expand) a collapsed Ribbon, you should click in any Ribbon tab and click the Pin button, as shown here:
As with many functionalities discussed in this lecture, collapsing or pinning the Ribbon is a matter of preference
Ribbon Display Options
These buttons allow you to either:
Collapse the Ribbon
Pin the Ribbon
Completely hide the ribbon (Auto-Hide) until the top of the window is hovered over
Note that the first two are effectively the same as the Collapse Ribbon / Pin Ribbon button described previously
Observe as we change between two of these options:
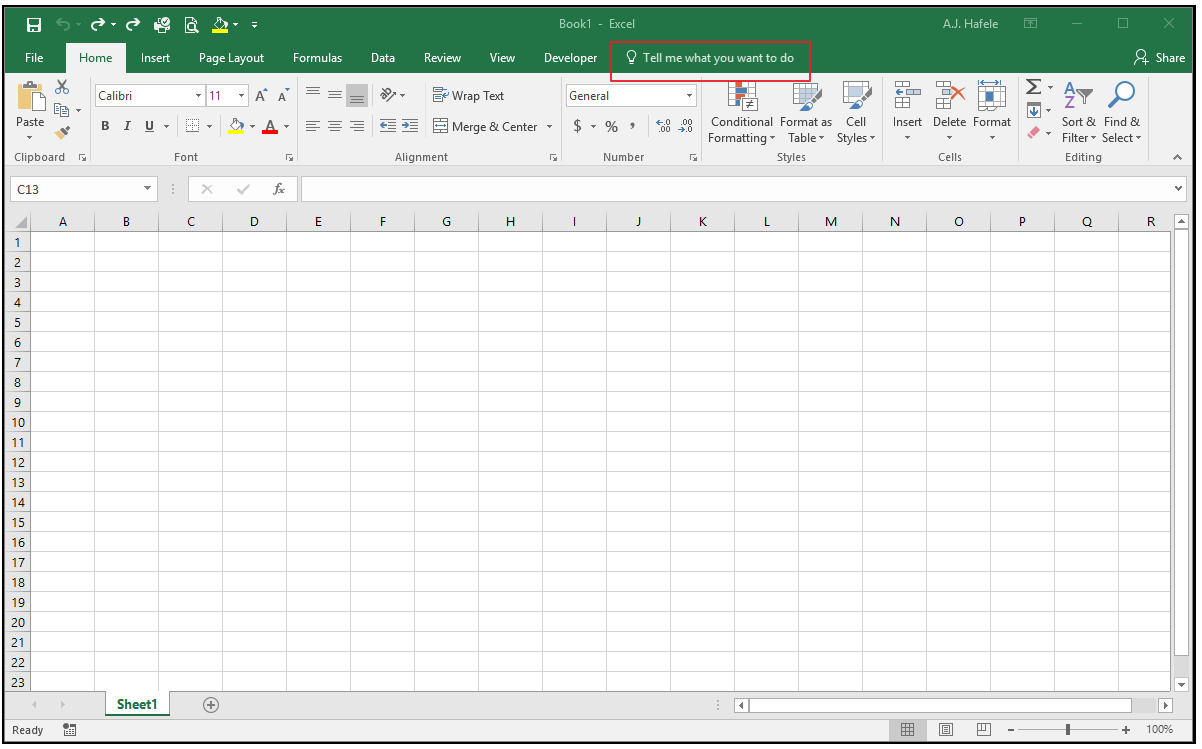
Tell Me Box (Excel 2016 and Later)
For users who have the latest versions of Excel (e.g. versions after 2016 in Windows), the Tell Me box is another quick way to find commands (by searching)
Observe as we quickly find and select the command to insert a new column:
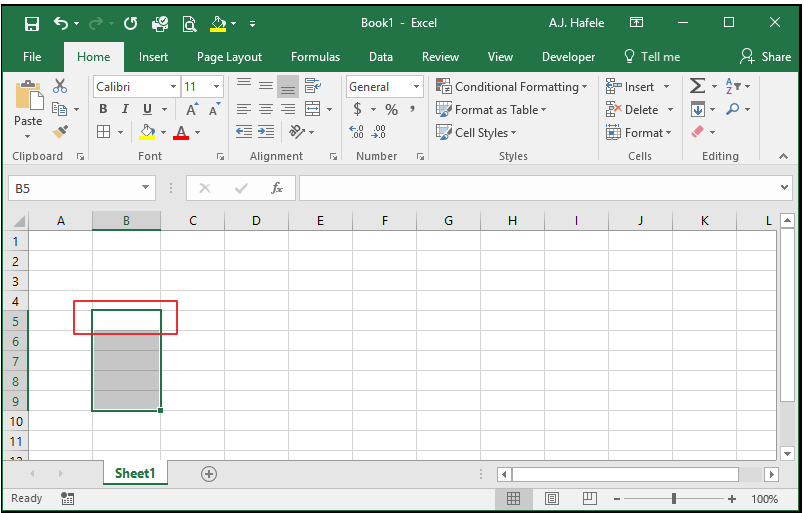
Active Cell
This is the cell in which data will be entered if a user starts typing
In this example, B5 is the active cell, even though multiple cells are selected (B5 through B9)
Observe as we enter numbers in a range of selected cells - each time we press ENTER the active cell (the non-shaded selection) moves to the next cell:
To replicate this illustration, select a range of cells, enter data, press ENTER, and repeat
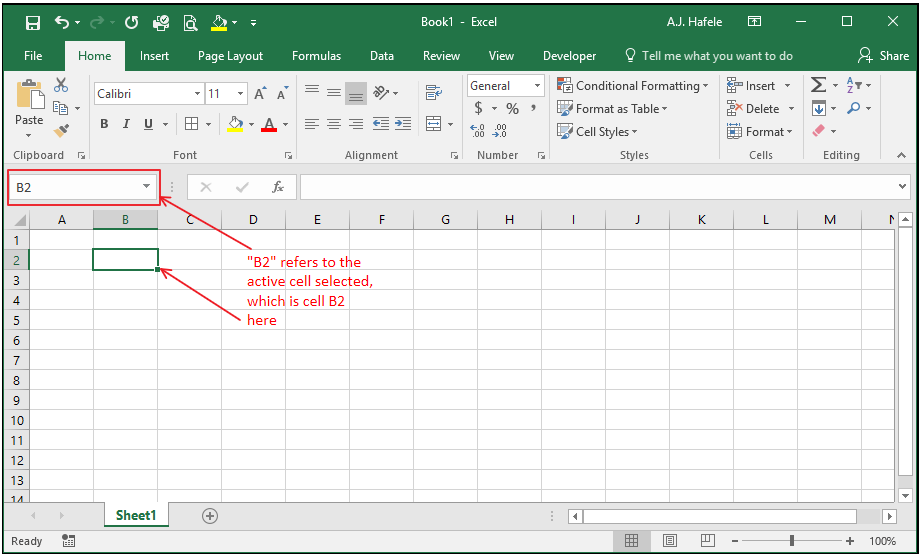
Name Box
The name box will present either:
The cell reference of the active cell. For example, the name box will show "B2" when B2 is the active cell, as shown above
The name of a named range (which can be a range encompassing a single cell). For example, cell B2 can be renamed to something else, as shown here:
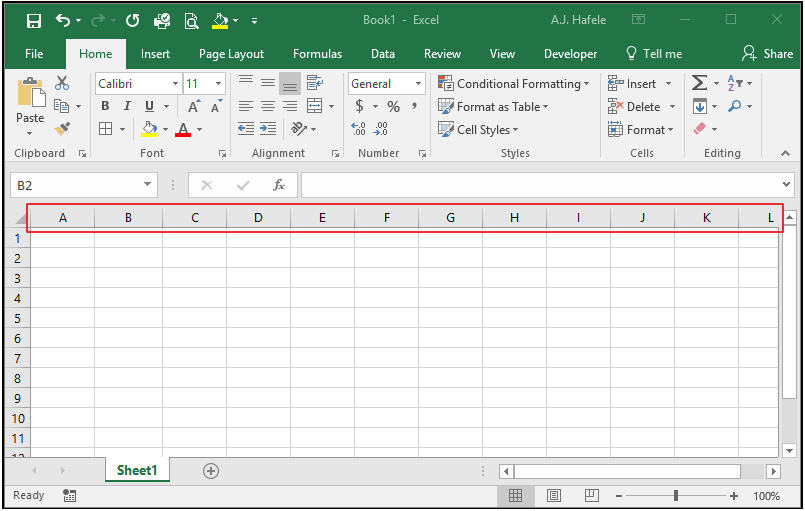
Columns
Columns are a vertical set of cells, typically ordered from left to right alphabetically (A, B, C, ..., AA, AB, AC, etc.)
Column letters are utilized in referencing cells
For example, cell C20 is in column C, the third column in a worksheet
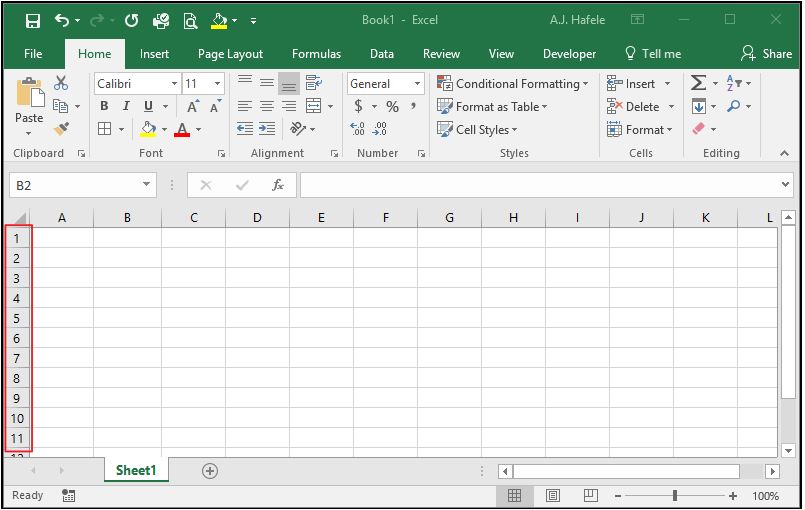
Rows
Rows are a horizontal set of cells, ordered numerically, starting with row 1 at the top of the worksheet
Row numbers are utilized in referencing cells
For example, cell C20 is in row 20, the 20th row in a worksheet
Vertical Scroll Bar
The vertical scroll bar allows users to scroll up and down in a worksheet
This button works in a manner similar to most applications in Windows
Horizontal Scroll Bar
The horizontal scroll bar allows users to scroll left and right in a worksheet
This button works in a manner similar to most applications in Windows
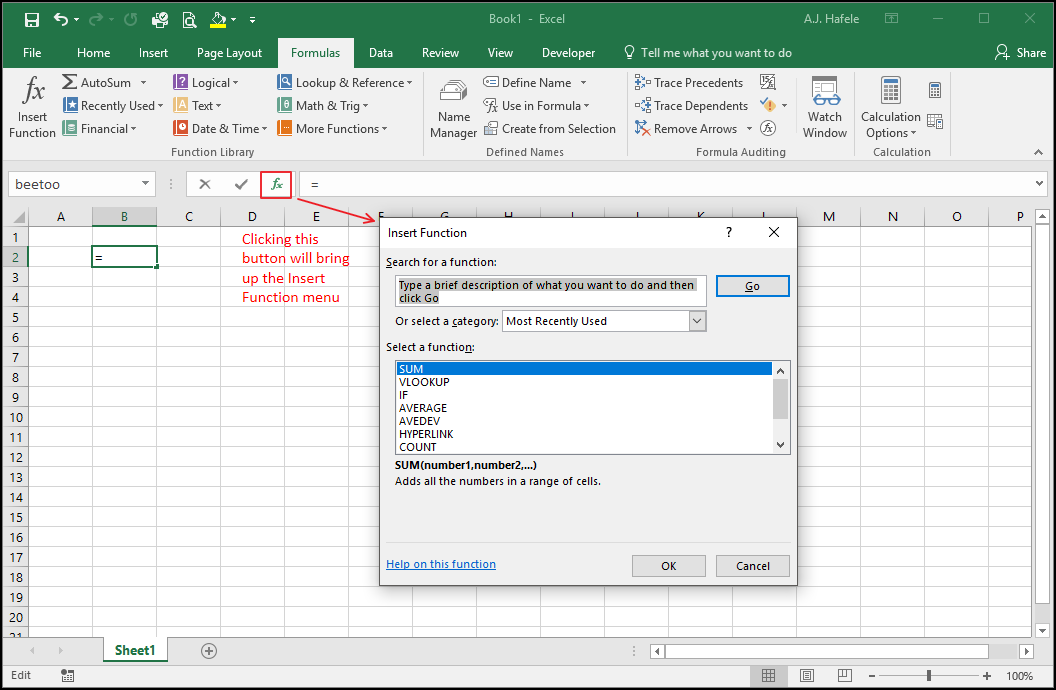
Insert Function
The Insert Function button opens the Insert Function menu (shown above), which is used to create formulas via a guided prompt/wizard
This can be useful if you need explanations of the formulas and their arguments
Observe as we use the Insert Function menu to insert the TODAY function in cell B2:
Note that we will discuss how to use the Insert Function menu in this lecture (but no need to skip ahead!)
Formula Bar
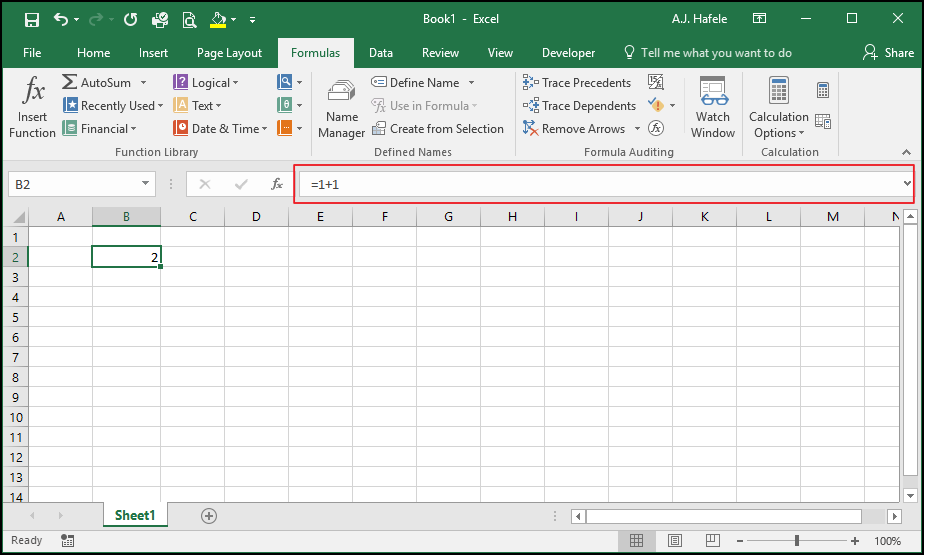
The formula bar shows you the contents that are typed into the active cell
Note that cell contents can be hard-coded information or formulas
If the cell contains a formula, the formula will be shown in the formula bar (e.g. =1+1), but the resulting output (e.g. 2) will be shown in the cell, as per the above screenshot
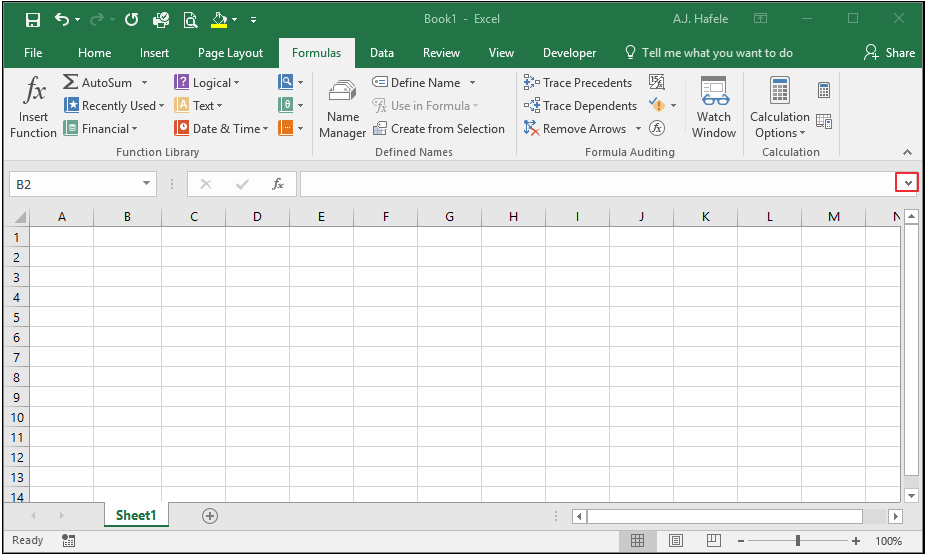
Expand Formula Bar
This button simply expands the formula bar to multiple lines, or collapses it to a single line
Expanding the formula bar is useful when examining lengthy formulas or text
Observe as we expand / collapse the formula bar with this button:
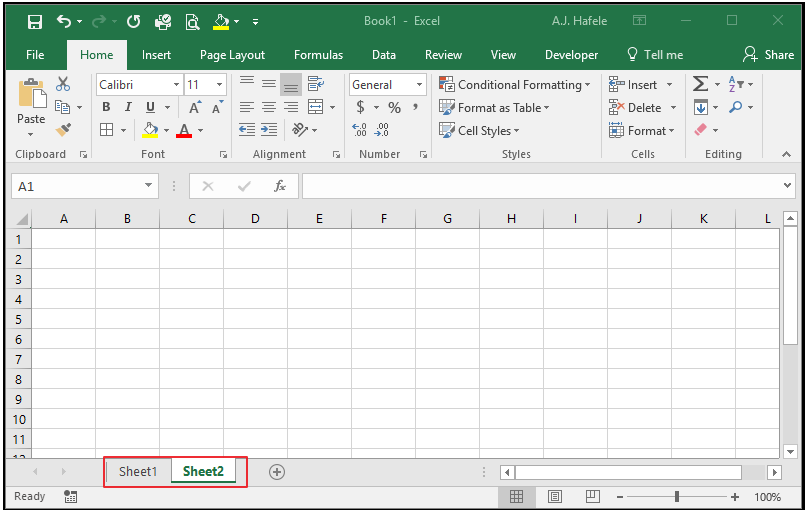
Worksheet Tabs
Worksheet tabs are listed at the bottom of the Excel workbook, as per above
Note that some worksheets can be arranged in any order, or even hidden
To navigate between different sheets, simply click the sheet you want to see, as shown here:
There are also shortcuts that can be used to navigate between sheets, including CTRL+PAGE UP and CTRL+PAGE DOWN
We will discuss worksheets (and related shortcuts) in more detail in this lecture (but no need to skip ahead!)
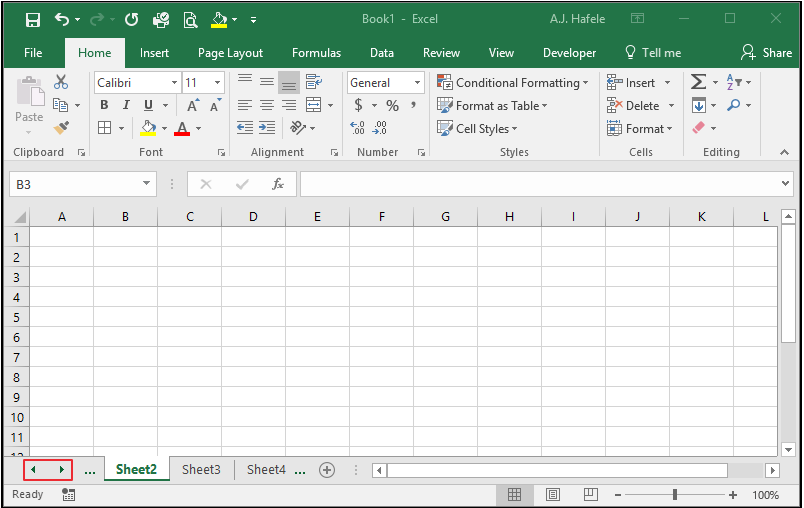
Worksheet Scroll Buttons
These buttons allow users to scroll through the list of worksheets
Observe as we use these buttons to scroll to different sheets:
To quickly scroll to the leftmost or rightmost sheet, hold in CTRL and left click the left or right arrow, respectively, as shown here:
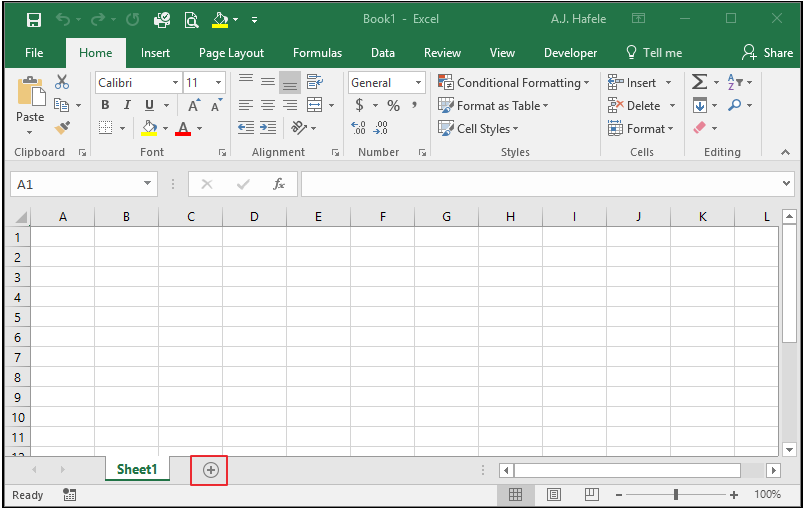
Add New Worksheet Button
This button is used to create a new blank worksheet, as shown here:
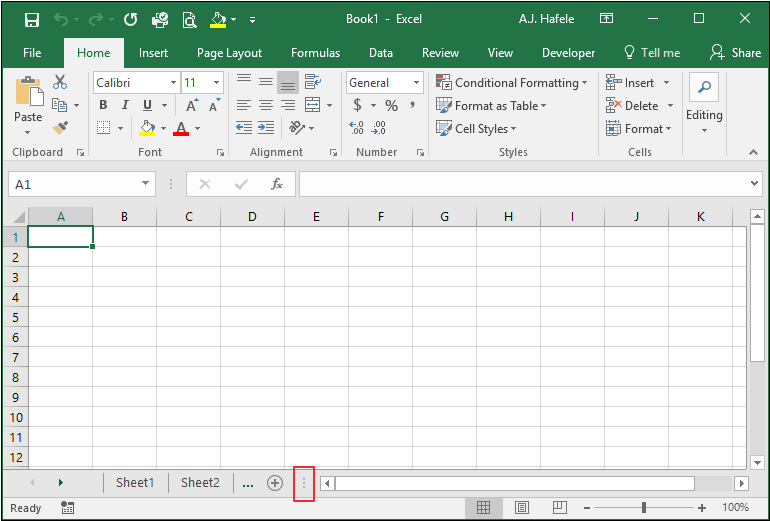
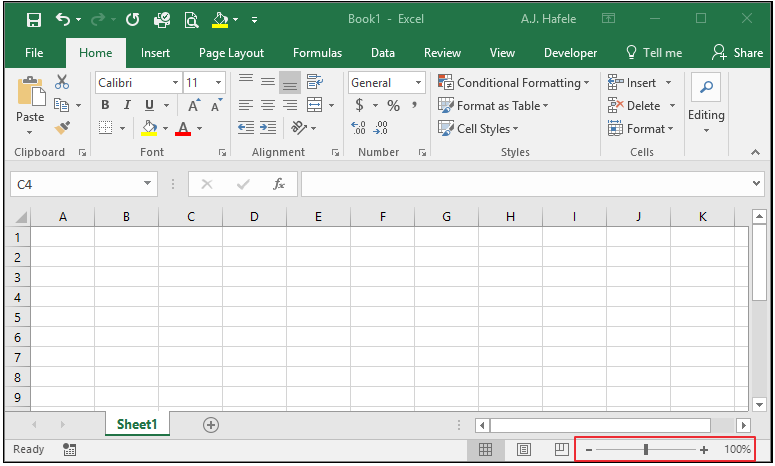
Adjust Scroll Bar Size
By clicking and dragging this button, users can expand or shrink the horizontal scroll bar
Expanding means you have less room to view sheets
Shrinking means you have a smaller scroll bar
Observe as we shrink the scroll bar so we can see more sheets:
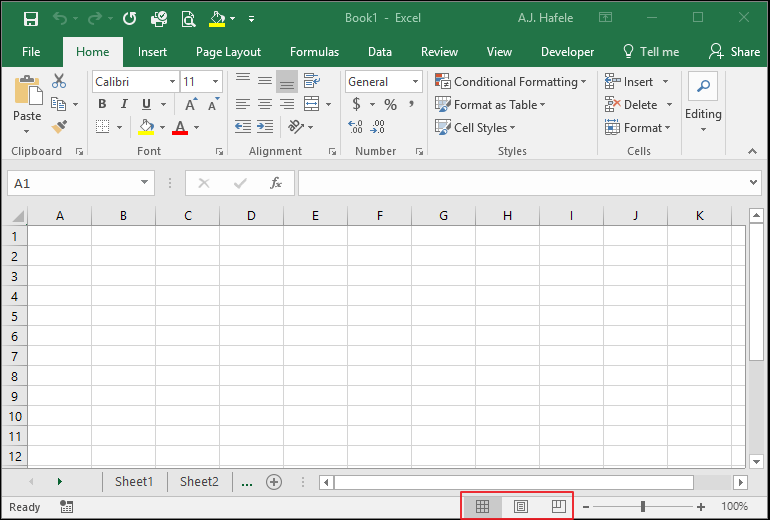
Page View Buttons
These buttons allow users to see their Workbooks from 3 views: Normal, Page Layout, and Page Break